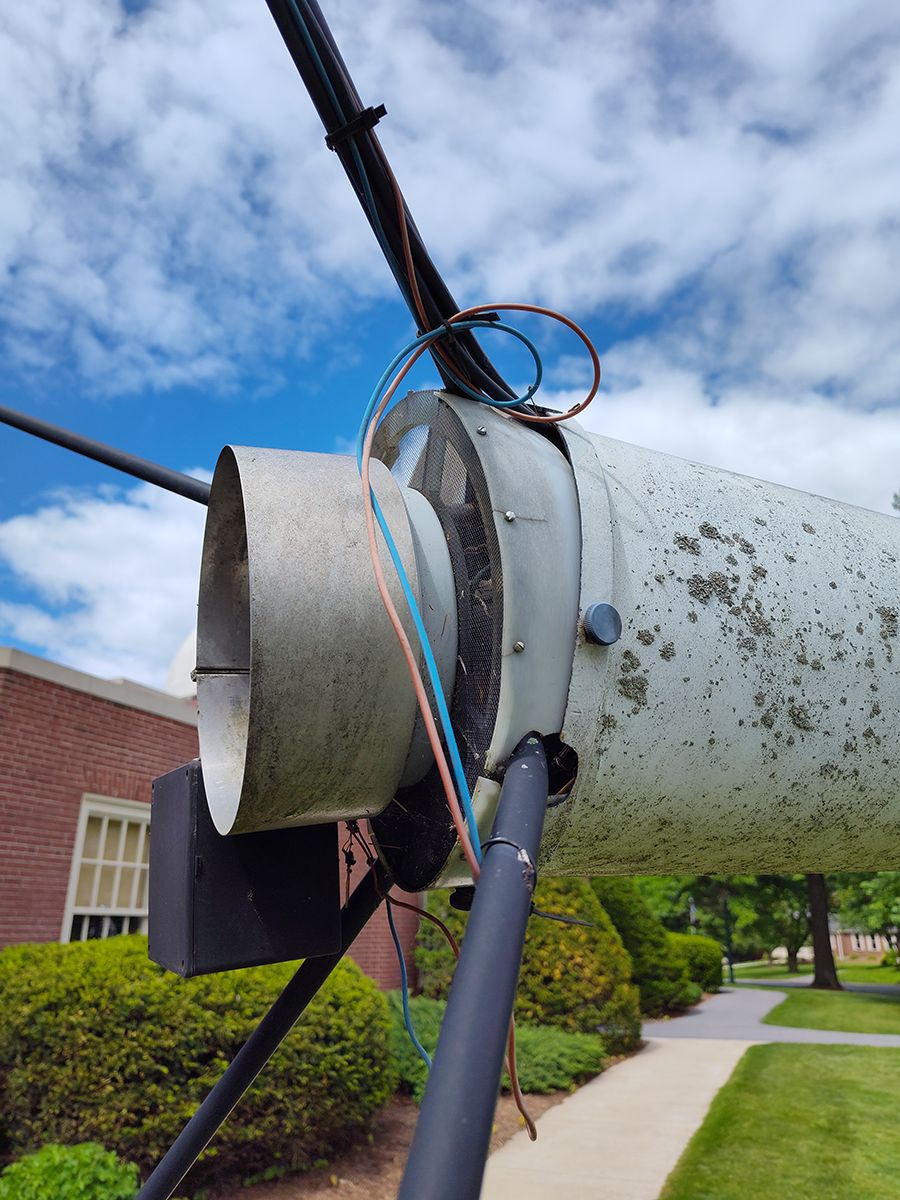
After enough years of outdoor UV exposure, temperature fluctuations, and who knows what all else, most plastics start to break down. The thin support ring – looks like polyethylene of some sort – has started to crumble, and the radio telescope’s nose cone is hanging loosely.
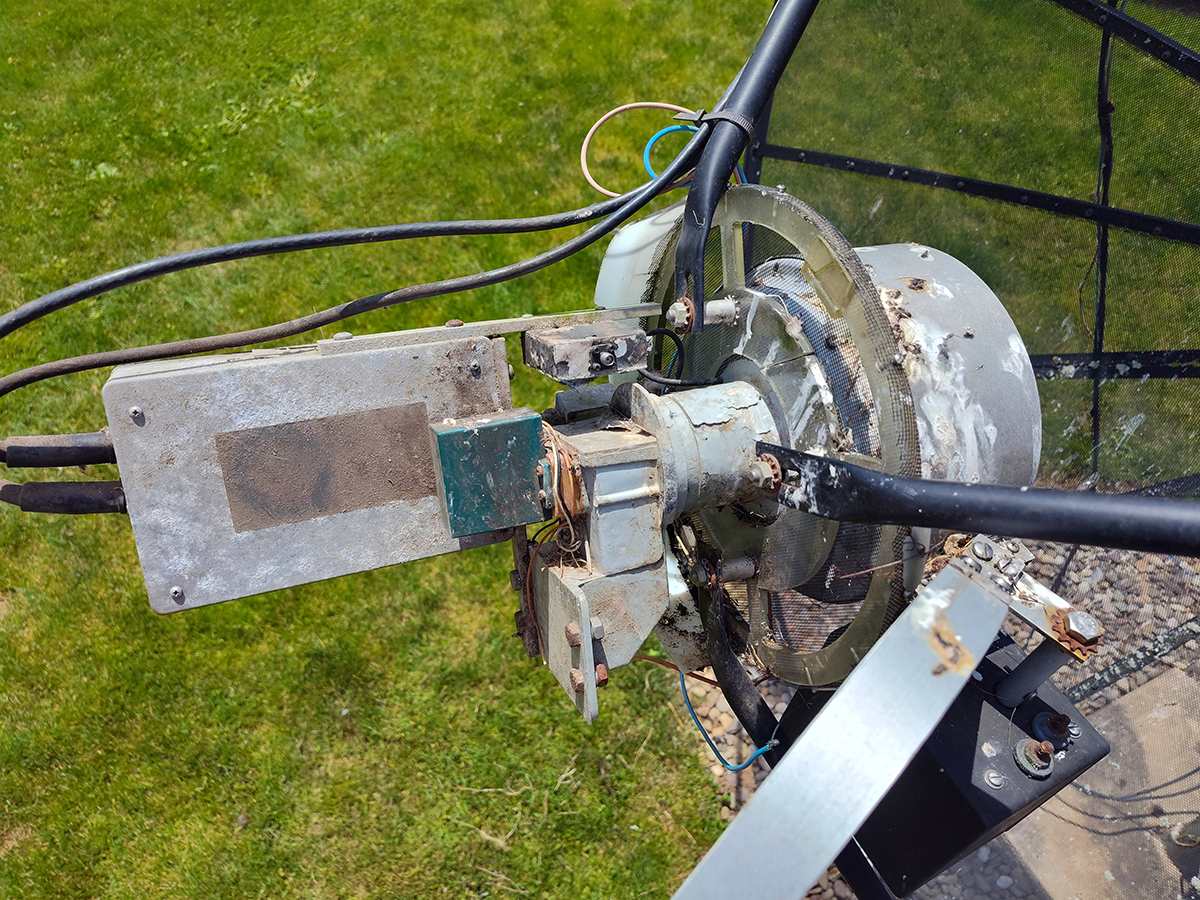
Inside, the receiver and amplifier appear to be in good enough shape. Note that many birds and many bugs have made a real mess of things.
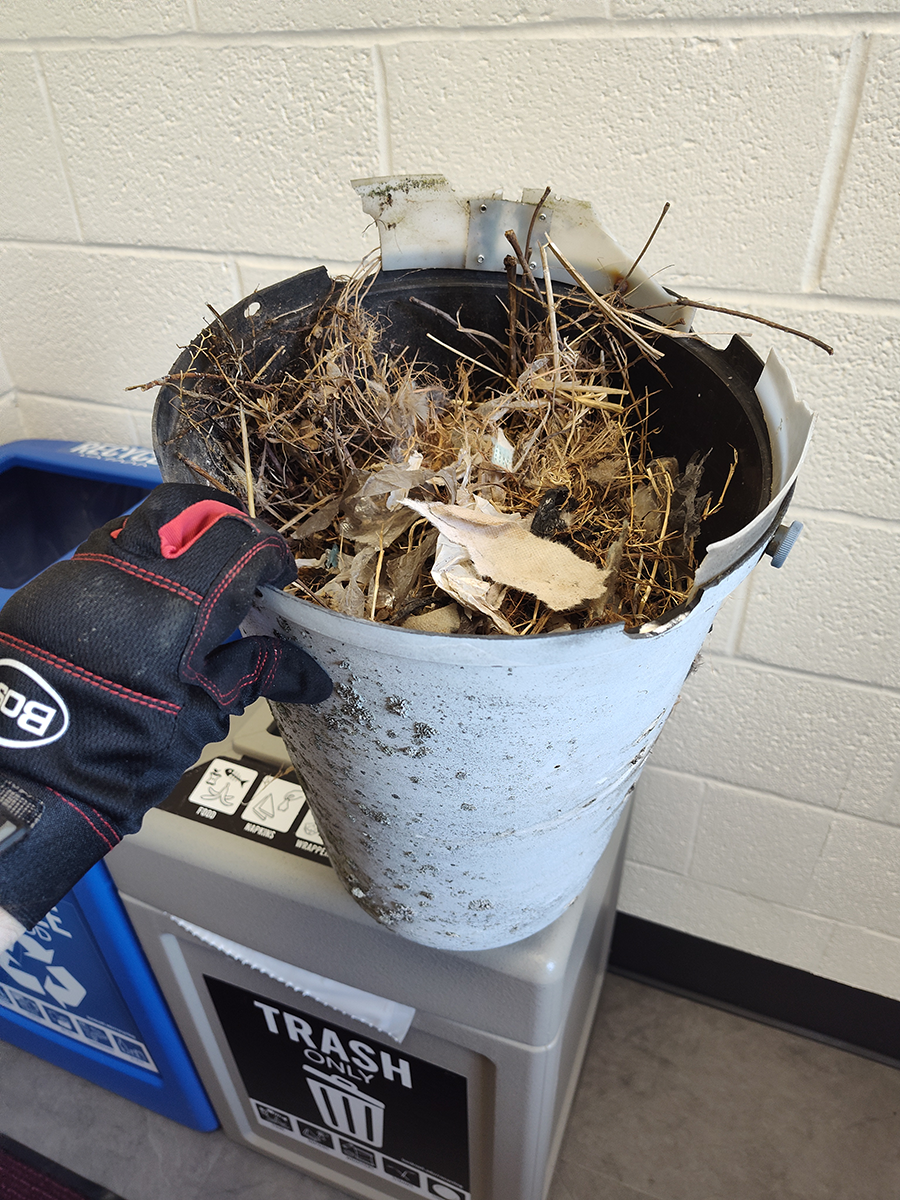
And they’ve built an astounding nest inside. Dried grass, last year’s hydrangea blooms, torn bits of plastic bags, some shredded paper, a few ripped-up bits of surgical masks. Removing all of this did not endear us to the starlings.
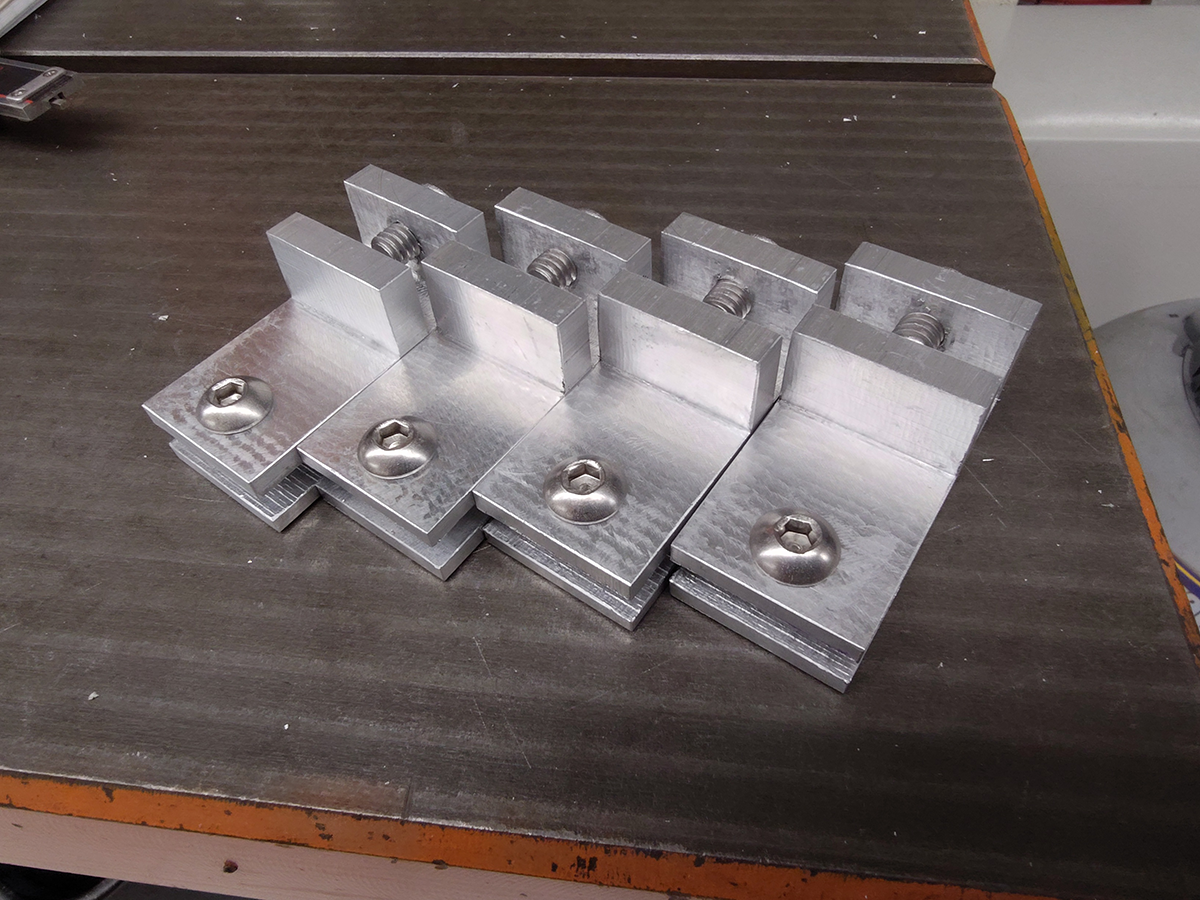
The plastic solution worked for a while, but it’s time to up our game. Aluminum brackets, precisely machined out of solid blocks, drilled and tapped for stainless steel hardware. Bright and shiny and destined to be hidden away from view.
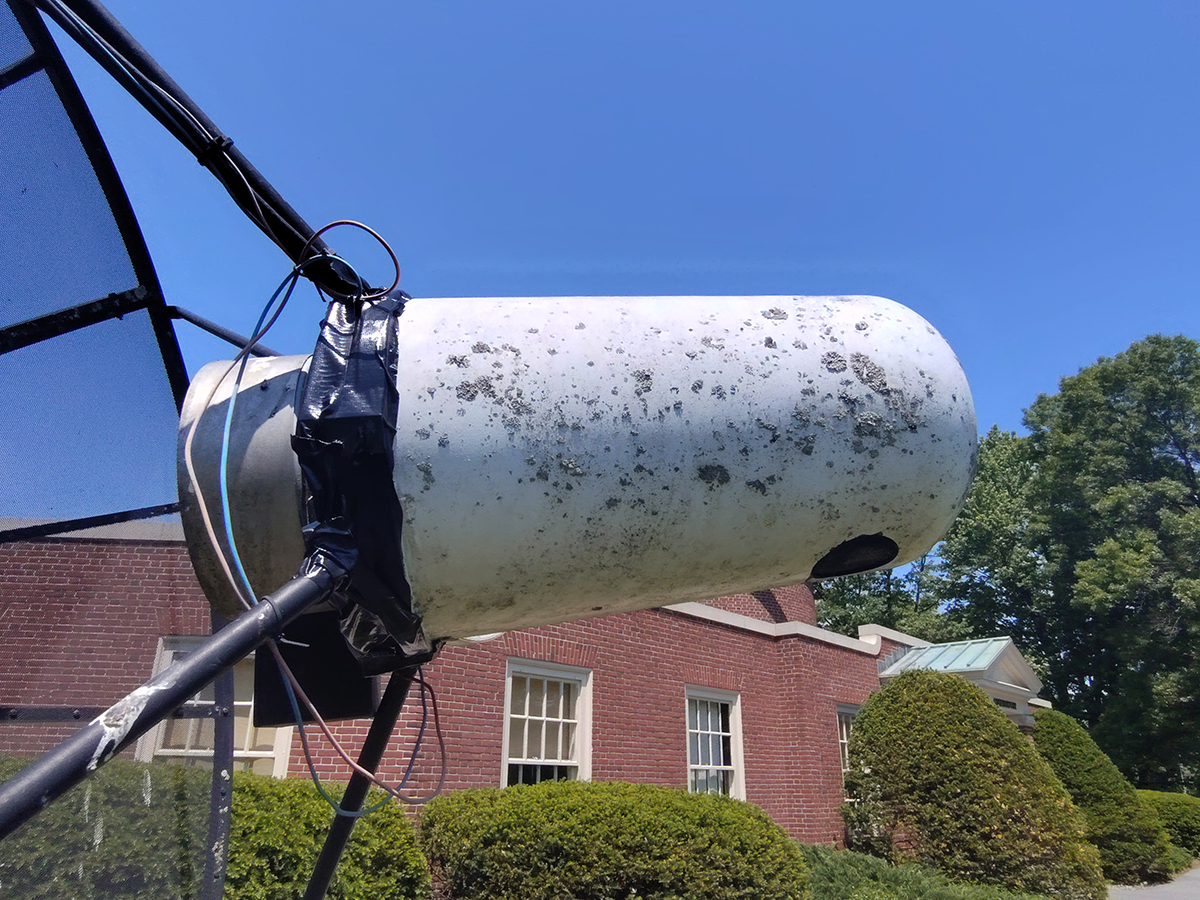
And then, with summery Pennsylvania weather on the horizon (read: thunderstorms), we seal the whole mess up with duct tape. Maybe it’ll deter the birds until we can deal with the rest of it some fall.
The most amazing part is that we didn’t end up using hot glue.