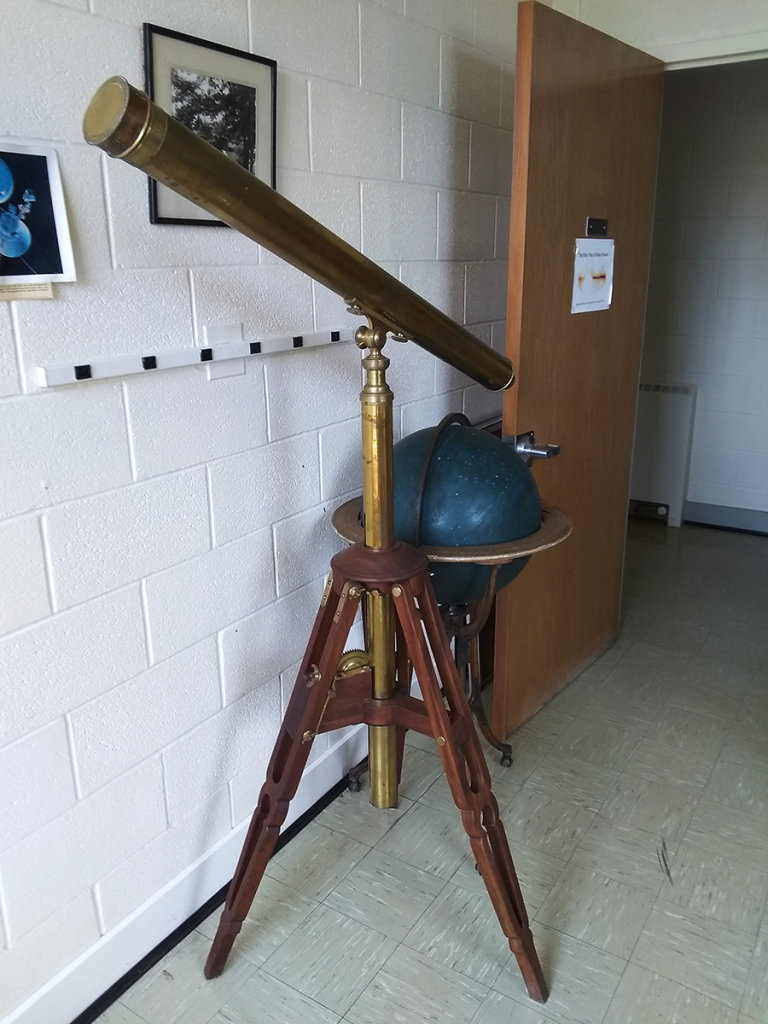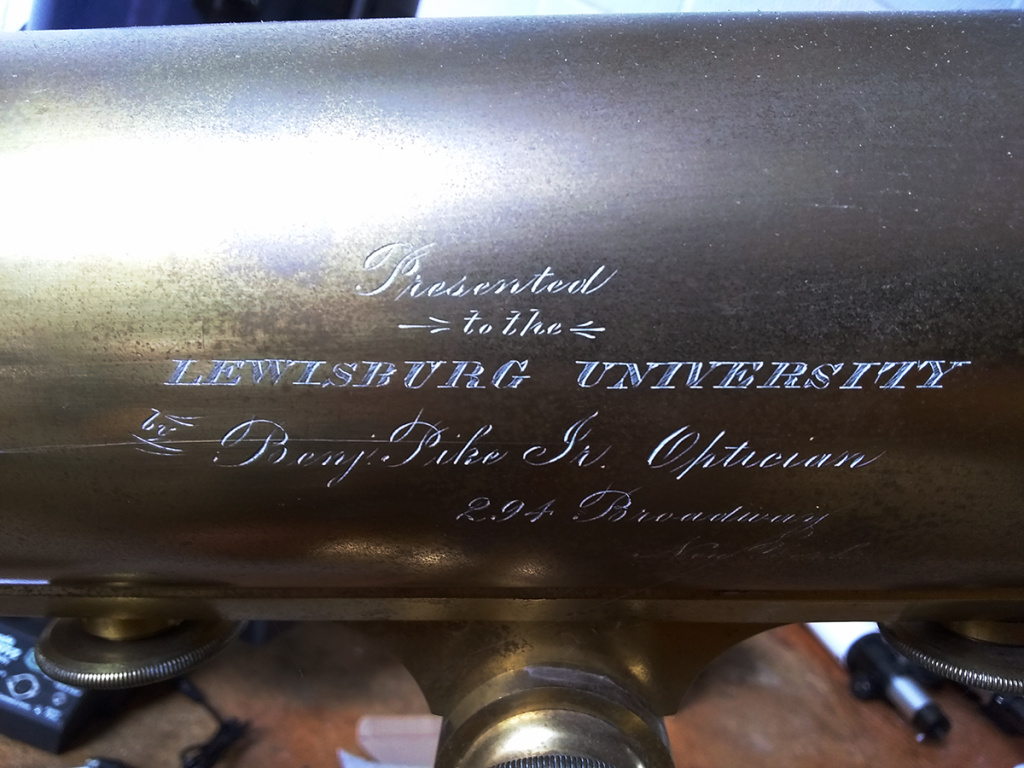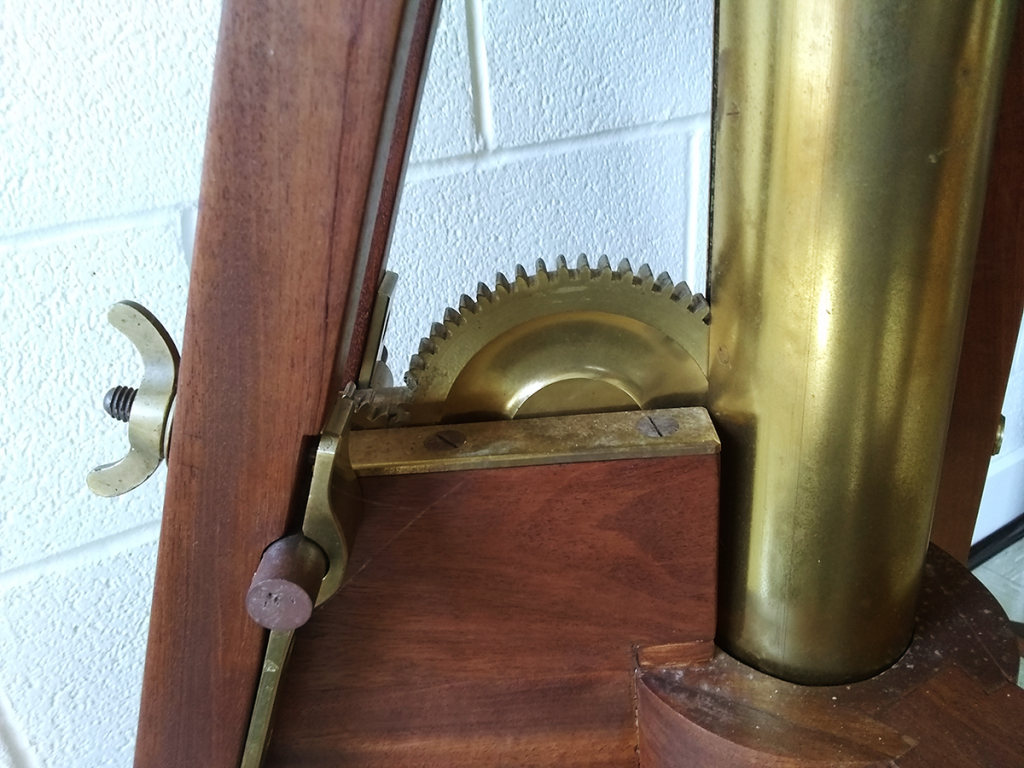
The Clark, our lovely 19th-century telescope. Much to be written on it another time, but here’s a picture with the dome open on a fine, sunny day.
Just look at that lovely brass set against the black steel tube. Magnificent.
Discoveries in the Physics & Astronomy shop | Science, curiosities, and surprises
The Clark, our lovely 19th-century telescope. Much to be written on it another time, but here’s a picture with the dome open on a fine, sunny day.
Just look at that lovely brass set against the black steel tube. Magnificent.
Signs! They’re all around, some not-so-subtle hints to remind you that you’re in a working machine shop full of dangerous things. There’s an informal ranking of which tools qualify as the most dangerous, but improper use can make anything a hazard. So it’s safety goggles required, watch your fingers, and don’t touch anything you haven’t been trained to operate safely.
Can we assume you understand that open-toed shoes are a no-go?
Hazard signs have a hierarchy, beginning with CAUTION, often in yellow. Caution tells you that you’re in a potentially hazardous place, and failure to take appropriate precautions could result in injury. Safety goggles around the machines, please. Don’t press any switches unless you know what they do.
Next step up: WARNING. The situation here is moderately hazardous. Failure to take appropriate precautions could result in death or serious injury. Maybe not likely, but please don’t lose a finger to the bandsaw. Keep those knuckles well away from the business end of the belt grinder.
And at the top, DANGER. Oh, danger. You get the quality of imagery that belongs on packs of cigarettes. Danger tells you that certain situations will result in death or serious injury. Not might, but will. Do not mess around with the table saw. Do not allow loose clothing or hair anywhere near the lathe. We like gallows humor for some very good reasons.
Nothing quite like the worst-case outcome for Charlie Chaplin in Modern Times laid out for you in stark silhouette.
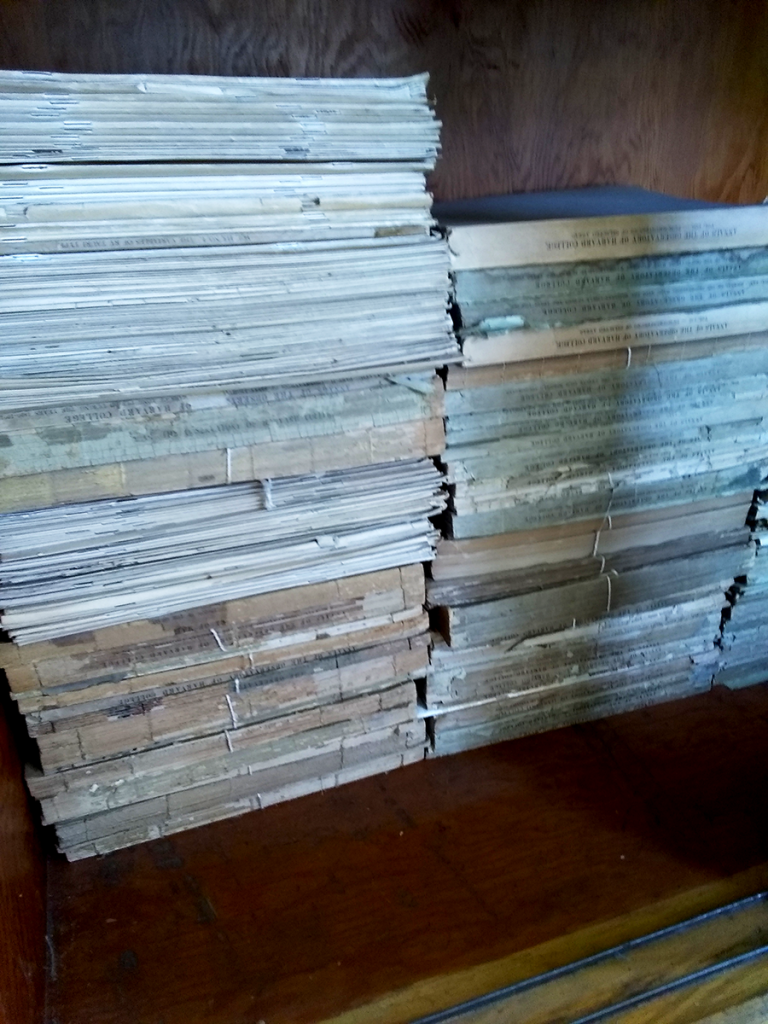
It’s no surprise that there are books everywhere. This is a university, after all. Books are one of the biggest threads connecting every department and avenue of study.
Sometimes it’s fun to flip open some of the old tomes gathering dust on mostly-forgotten shelves. This was, presumably, a useful reference when acquired in 1973 or so. Flipping open the front cover, it’s not hard to imagine that someone got at least $5 worth of use out of this.
That said, this is not the most compelling cover-to-cover read, unless you’re really into data tables for the sake of data tables. Front to back, it’s tables of lunar positions and times over a span of 2,652 years. From what seems like an arbitrary start – 1,001 is a pretty fine number – to around the death of Johannes Kepler (November 1630) makes for a lot of potential eclipses and other lunar phenomena that would get the attention of ancient writers.
Folks around here are already talking seriously about the solar eclipse in April of 2024. Syzygies are a big deal.
Syzygy. Y-Y-Y. Great word.
‘Tis the season for PHYS 211 toy kits!
A bag full of goodies for each and every student studying classical and modern physics this upcoming semester. Yo-yo, fidget spinner, bouncy balls (large and small), rubber ball on string, silicone fun poppers (large and small), metal coil spring (not a Slinky, but really it’s a Slinky), and a pair of balloons. Drinking birds and blowguns (not pictured) to be distributed later in the semester.
For those wondering: the big bouncy ball is way better than the little one. Same goes for the fun poppers. The little ones hop a bit, while the big ones bounce all over the shop. You know, for science.
Tools undergo a great deal of stress in doing their job. They wear down, dulling their edges. There are impacts, intended and not. There’s a lot of force, and heat, and effort in shaping raw materials into something more useful. Tools are generally made from hard materials, intentionally harder than the material they’re working. Harder materials, broadly speaking, are more brittle.
So they’re good, they’re good, they’re good… oops. Broken.
A lot of the shop’s milling and milling-adjacent tools are made of high-speed steel (HSS), a group of steel alloys which perform well at high temperatures without losing their temper. Tungsten carbide (often called carbide) is even harder, and we save those for jobs that need it. Carbide’s brittle enough that it can’t be used in hand tools, instead requiring a sturdier, rigid setup like a milling machine, a drill press, or even better, a CNC machine.
They’re awfully expensive to replace.
Some tools, though, require human hands and a deft touch. Taps are one such example. The action of cutting threads takes firm yet gentle pressure, with frequent pauses and reversals. The tap gets hot; the material gets hot. The corresponding thermal expansion makes the tap more and more difficult to turn, increasing the risk of fracture. Best be patient.
And sometimes, despite all that effort? The high-pitched *tink* that tells you the tap snapped. It’s subtly different from the similar sound that a curled, not-yet-removed burr of metal makes when the tap runs up against it. Sigh.
Reverse the tap, slowly, carefully. See if you can remove the broken piece without damaging the hole. Remember that it’s harder than the material it’s in, and probably as hard as the drill bit you’d like to use to dislodge it. If need be, drill a new hole and try again. This particular tap met its end putting threads into cast iron, a less-than-ideal material for most of our machining jobs.
Mistakes. They happen.
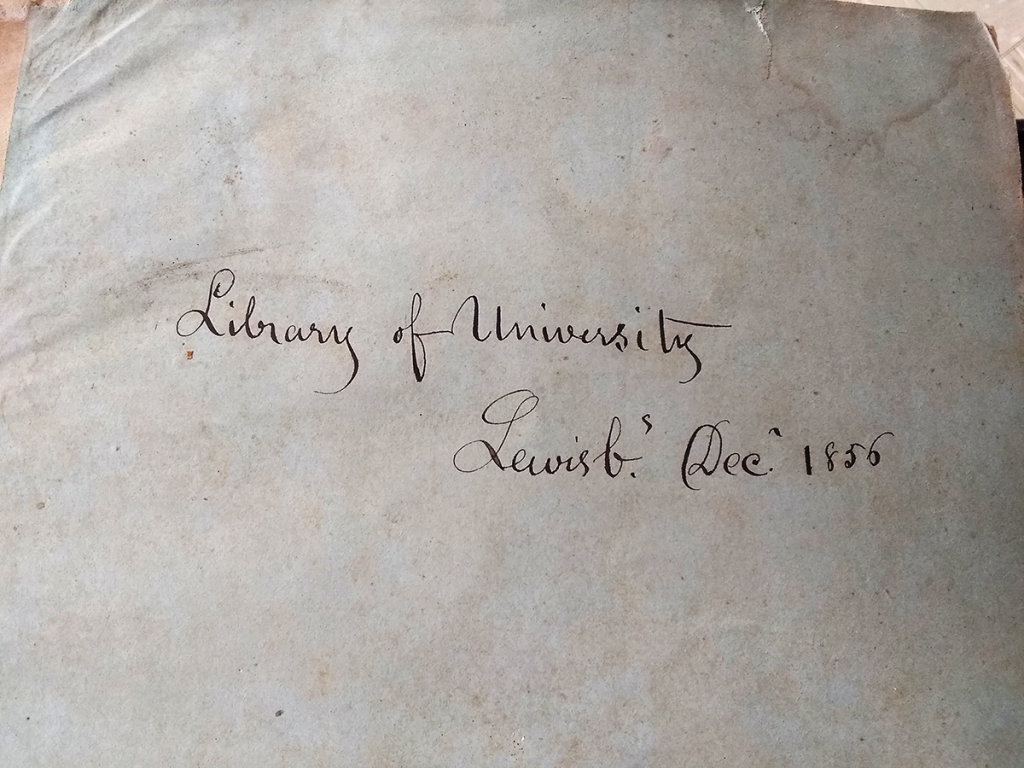
It seems the university has drifted away from this, but if you look around at old equipment, a great deal of it is marked with the date it was acquired and – if it’s old enough – the cost. They’re fascinating glimpses into the past.
Here, an optics bench made by the Central Scientific Co. of Chicago, Illinois. Or, as they’d prefer, Cenco of Chicago, U.S.A. This particular 132cm chunk of cast iron and steel joined the department in late September of 1943, for the low, low price of $40. According to the U.S. Bureau of Labor Statistics’ CPI Inflation Calculator, that’s an excessively specific $681.17 in today’s dollars. (Significant digits!)
Up until now, it’s been in more or less continuous lab use, only recently replaced by brand-new extruded aluminum optics benches. Almost 80 years, and they’re not entirely kaput just yet.
After all, if an apparatus continues to be useful, we’ll keep it around. This one is getting repurposed for future labs, so we’ll see how many more decades it has in it…
Dice! Bins of colorful dice, each with 178 of one bold color, plus two going their own way. Each bin arrayed in a 10 x 18 or 12 x 15 grid, per the shop tech’s preference at that moment. Beats counting them one by one.
Secure the lid and shake with all your might: you’re simulating radioactive decay! Loudly.
Pick a number from one to six. Say, three. Each die that turns up with three pips after a shake decays, and you remove it from the bin. With 180 dice in there, the chances of getting all threes – or zero threes – is vanishingly small. One-in-six raised to the 180th power, right? As a percentage that’s, what, nearly 140 zeros after the decimal point? Run the numbers, and you can look forward to around one-sixth of the dice in there decaying with each shake. Sometimes more, sometimes less.
You’ll also keep a close eye on those differently-colored dice. One for you, one for your partner. They’re the atoms you’re watching carefully, and unlike the sorta-predictable rolls of a large mass of dice, they’ll decay when they’re good and ready. Could be first, could be never. It’s an illustration of how probability works in systems of different sizes. Of how the random nature of radioactive decay produces a predictability with enough atoms and enough time.
In some idealized version of this experiment, you’d have 30 dice decay on the first shake. Then 25. Then 21. 17. 15. 12. 10. 8. 7. 6. 5. 4. 3. 3. 2. 2. 2. 1. 1. 1. After that… maybe one per shake? (The student experiment stops well before you’re down to a meager handful of dice.) The half-life arrives around four shakes. Every four shakes. Neat!
And should the effect with 180 dice not be enough? Compare your data to the rest of the lab, seeing how each rate of decay is nearly but not exactly the same. Then aggregate the data from all dozen lab benches. 2,160 dice decaying.
Loudly.
When we describe a typical day in the shop, we always hedge and point out that there is no such thing. Walking in to work every morning, you wonder what surprises the shop has in store. At any time, the most unusual requests will walk through the door. Yes, we set priorities. Some needs are more pressing than others. Certain departments (the ones whose budgets support us) get preferential treatment. Some jobs can simply be done in just a few minutes.
We’ll stop all but the most important, time-sensitive work to fix a problem that only takes a few minutes.
Then there are the times when a project is going someplace unexpected. Testing out new ideas. Research outside the usual comfort zone. To be clear: research is always stretching into new, unexplored territory; that’s what makes it so fascinating! But sometimes that territory includes stepping outside the lab.
Physics: not typically set up for regular fieldwork.
Recently it’s become important to brush up on knot-tying. Good, sturdy, easy-to-remember knots for an unusual situation. Testing, tying, repeating. (Making a few mistakes; correcting.) Settling in on the bowline, the alpine butterfly loop and bend, and the trucker’s hitch. Good names. Better knots.
The bowline – rabbit, hole, tree, etc. – is simple to tie, won’t come undone under load, and makes a sturdy loop to fix one end of a rope. A dedicated individual can even tie it with one hand. Let’s all hope it doesn’t come to that.
The alpine butterflies are a pair of near-identical knots for different purposes. The loop creates a sturdy loop in the middle of a length of rope, and can be used to shorten a rope, too. It won’t slip or bind, and no matter how hard you pull it, it’s still a breeze to untie with fingertips. A bend, in knot-tying parlance, connects two lengths of rope, and the alpine butterfly bend is simply a variant on the loop where two ropes of about the same thickness tie together. Repair a damaged rope. Create a longer one. Tie one length into a giant circle. You’ve got options.
Plus, they look neat during the tying process, which wraps the rope about one hand in a butterfly shape before snugging tight. Makes it super-easy to remember, and if you’re learning a series of scouting knots, you know you’re going to end up someplace you can’t check your phone for a last-minute refresher.
Practice, practice, practice.
And then… the trucker’s hitch. It can start with an alpine butterfly loop (so why not?), then loops back about itself to provide a pulley-like mechanical advantage to tighten it down. Just keep pulling the loose rope until you reach the right tension, freeing you from the need to perfectly guess your length. A pair of half-hitches finish it up, distinct from the load pressure, making it a snap to untie when the time comes.
So. Bowline to start at one end. Alpine butterfly for a solid loop, leading into a trucker’s hitch that can tighten down as hard as we can make it. Keep our loads solid and stable in the wind and weather, and they’ll still untie in moments when we’re done.
Can-knot wait to see how this plays out in the field.
What’s your favorite holiday? Whichever you choose, it’s kind of like that around here, because it’s almost toy kit time! Classical and Modern Physics I – better known ’round here as PHYS 211, or just plain old 211 – gives out a bag full of toys to each and every student. More than three hundred of these are getting ready for distribution.
We do the same for PHYS 212 in the spring, with all sorts of goodies for electricity and magnetism, but in the fall, it’s all about mechanics. Stuff that moves. Toys, exactly like you’d expect them to be. Yo-yos, Slinkys, bouncy balls, blowdart guns, drinking birds, and more.
Always balloons. Every toy kit, every semester, we include balloons. For science. More specifically to help illustrate the principles of physics for homework and problem-solving sessions. What better way to learn than with hands-on experimentation?
Here we have that childhood classic, the Duncan Imperial. Some of the kits will get the Butterfly instead – when you go purchasing hundreds at a time, you take what’s available and fits in the budget – but either way, it’s the return to a certain moment of childhood. At least for the shop techs. If there’s anyone in this world who’s guaranteed to get excited about nifty gizmos, it’s us.
(If there’s anyone in this world who can have serious conversations about the varying quality and potential factors affecting a bouncy ball’s bounce, it’s us. But that’s a topic for another time.)
And, since you were bound to ask: no, neither of us can remember how to do any of our childhood yo-yo tricks. Doesn’t stop us from trying.
There are bits of information worth remembering, and others best outsourced to a handy reference. Preferably one that isn’t Wikipedia. Having a head crammed full of a broad swath of information is immensely handy in a shop with such wide-ranging activities. When an unexpected request comes through the door – and so many of them are unexpected – it’s refreshing to be able to approach the problem with at least some sense of which direction to take.
Even if you can’t pull up the specifics, knowing the outline of the process gets you started. A tiny dose of confidence helps, too. That and a willingness to give just about anything a shot. And, yeah, stuff gets broken sometimes.
Mental outlines are good. Instant recall of key facts is useful. Sometimes, though, you need a big table of numbers, because by the time you’ve committed that mountain of stuff to memory, you’ll have forgotten why you were even trying in the first place.
A big table, but not so big it won’t fit in a pocket. (Side note: you will always be happy to have a spare pocket around here.) Side A lists drill sizes with their diameters in millimeters (to 2 decimal places) and in inches (to 4 decimal places). Fractional from 1/64″ to 1″. Wire from 80 to 1. Letter from A to Z. Metric from 0.10mm to 25.5mm. 206 in total. (Assuming you consider 1/4″ and E to be separate drill sizes. They’re identical, save for the markings on the shaft.)
It’s especially helpful when trying to find just the right size for a project. That 1/4″ plastic tubing that needs to fit snugly-but-not-too-snugly? The 1/4″ drill probably won’t work. Size G, with a spare 0.28mm, might.
The B-side to this is a pair of tables that match up thread sizes – national coarse and fine; taper and straight pipe; metric – with the appropriate drill. The metric table even provides SAE alternatives should you find your metric drill selection somewhat less comprehensive than the full array of letters and wire numbers. Perhaps DoALL was more optimistic about an eventual shift to metric back in July of 1986.
Regardless, the table’s ease of converting between fractional inch, decimal inch, and millimeters is immensely useful in a shop where all three options might come into play. The availability of raw materials sometimes creates situations where you’ll work with both SAE and metric on the same job. It’s weird.
Honestly, here in the shop, we’d prefer to do everything in metric. Makes the mental math way easier.