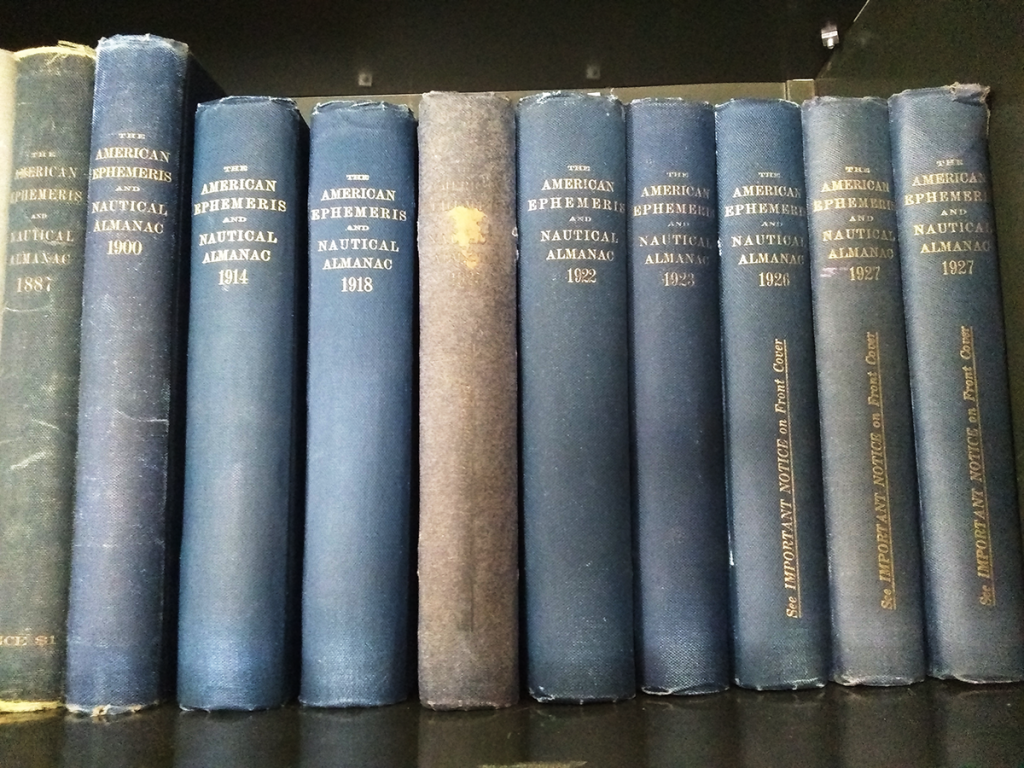
As one would imagine, university buildings have tons of books in them. Shelves upon shelves, editions going back well over a century. See above, The American Ephemeris and Nautical Almanac, 1887. Is it useful? Not particularly these days. Does it look cool on the shelf in line with year after year of its subsequent volumes? Of course!
Note the volume near the middle of the image, with the well-worn spine. It’s a duplicate of the book to the right, the 1922 edition, save for one key detail. A bookplate:
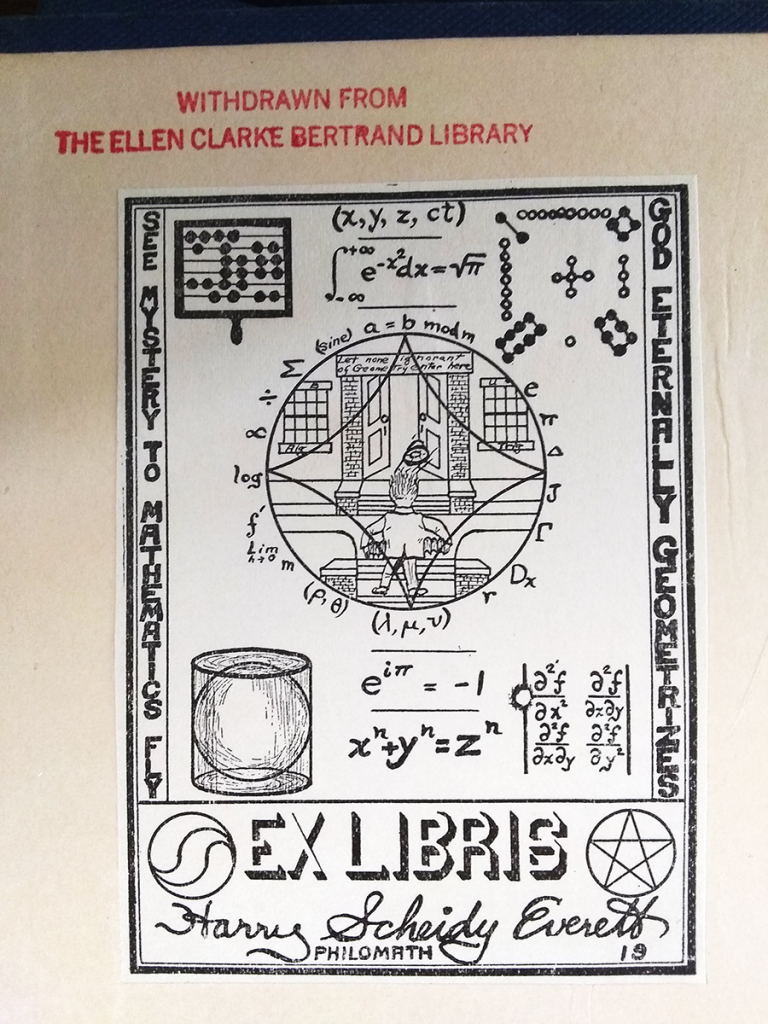
Ex Libris Harry Scheidy Everett. Listed in L’Agenda 1925 as Associate Professor of Mathematics and Astronomy and Director of the Observatory, he was already a Bucknell alumnus, having received his Master of Arts on Wednesday, June 18th, 1913, according to the Bucknell Catalogue of 1912-13. (He also played the violoncello.)
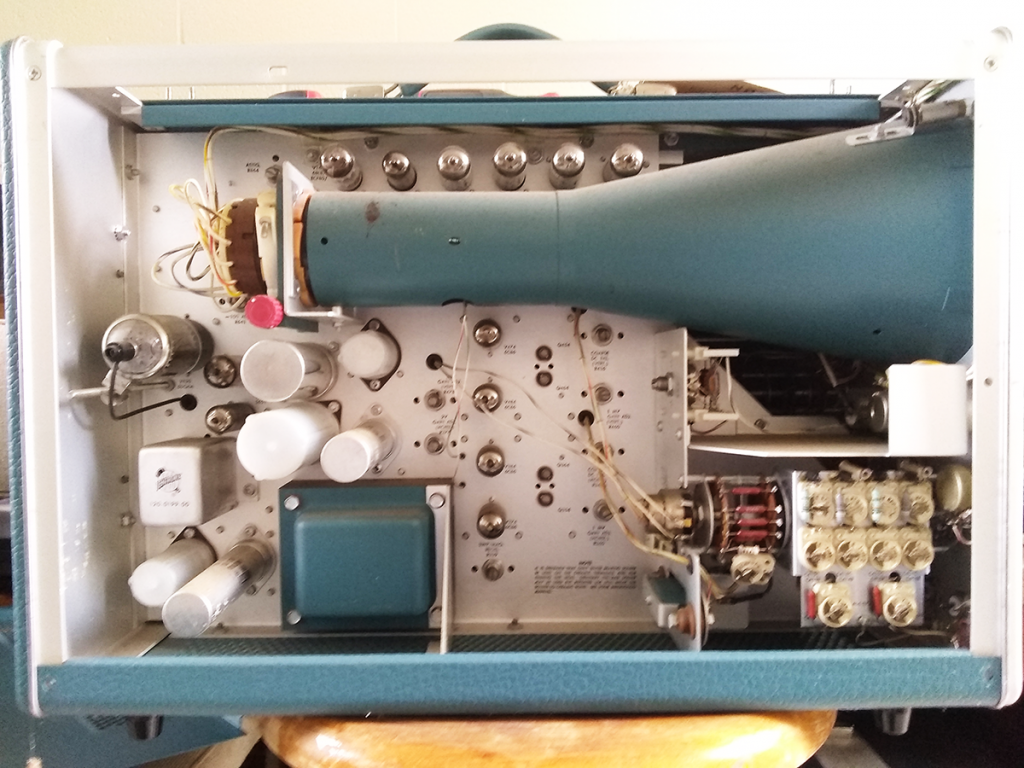
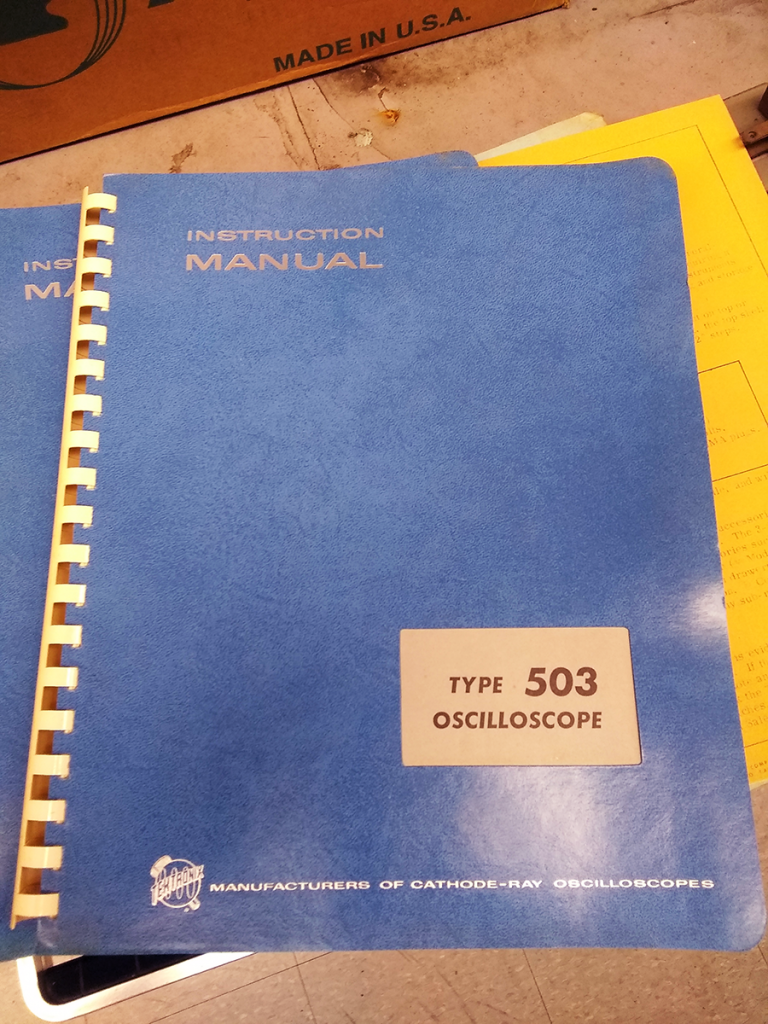
Astronomy now lives under the Physics umbrella, rather than Mathematics, although we’re all stacked on top of each other here in Olin Science.
Have a look at that bookplate, and imagine that self-described philomath Dr. Everett was having a grand old time drawing that up. In case you can’t read it, the inscription above the doors reads: “Let none ignorant of Geometry enter here“
Bet he was a unique individual, that Dr. Everett.