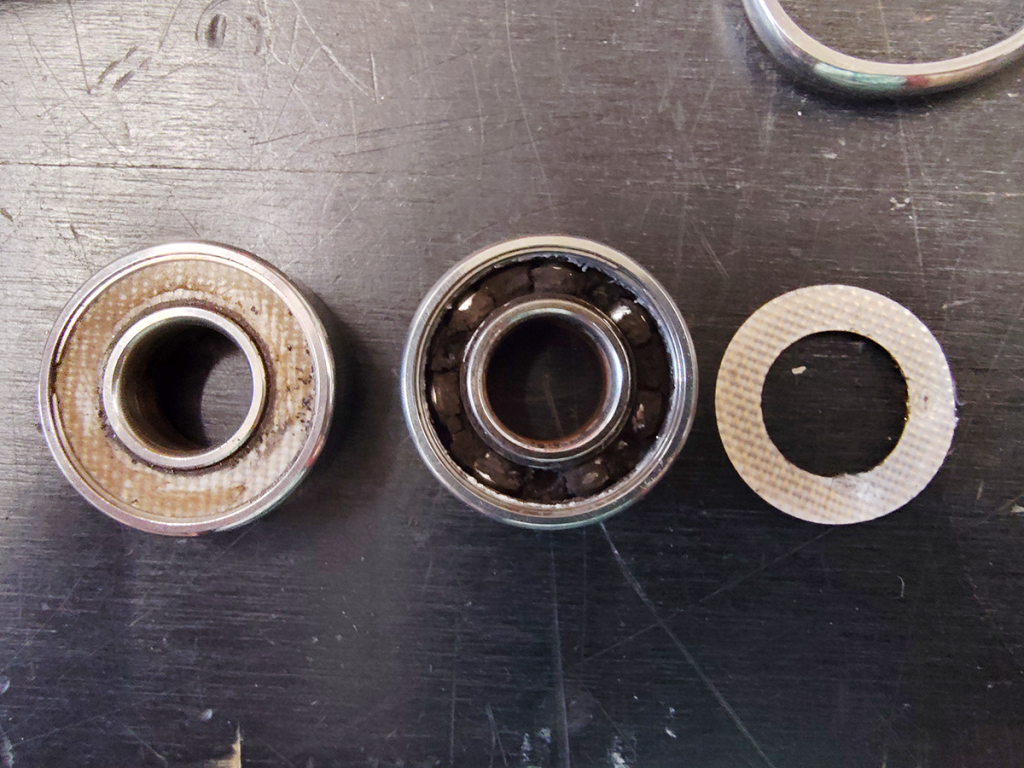
Well there’s your problem. When the bearings have that much accumulated crud inside, they don’t work as well as they should. Or at all.
Discoveries in the Physics & Astronomy shop | Science, curiosities, and surprises
Well there’s your problem. When the bearings have that much accumulated crud inside, they don’t work as well as they should. Or at all.
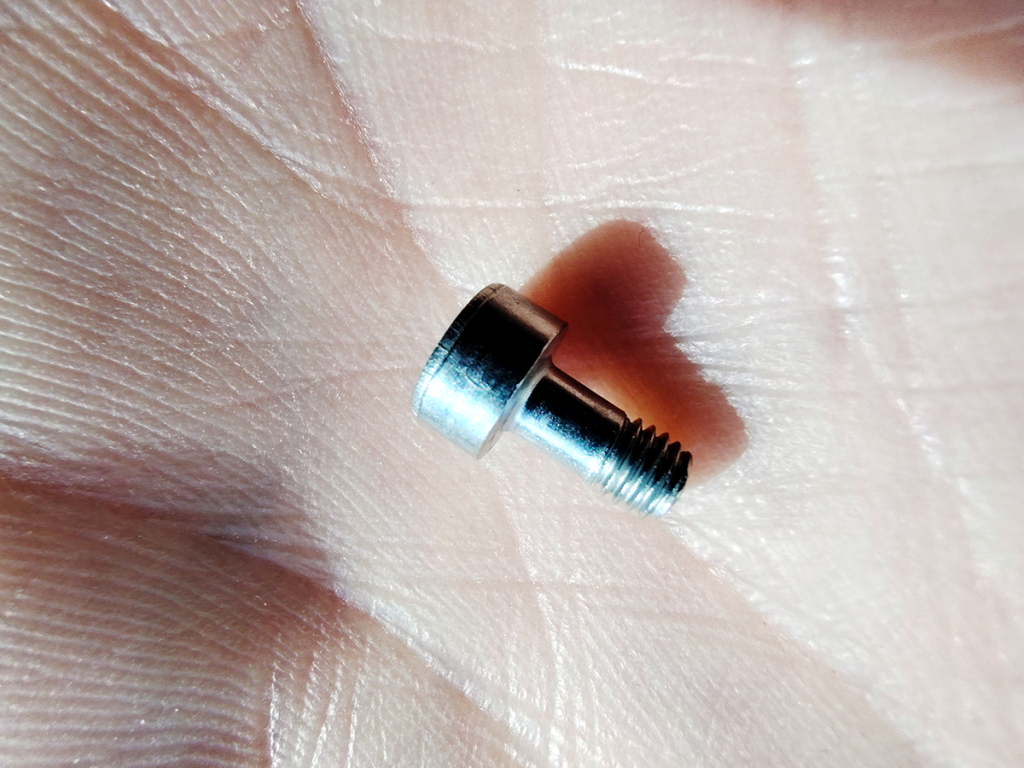
Occasionally, one piece slips past quality control. One little M3 screw, with a little less than half of its six millimeters threaded. Is it cute? Sure. Is it useful? Hardly.
Good thing we’re always ready with spares.

Pretty sure we can decipher these:
All set!

There are times when you just can’t find the right tool for the job. So you take the closest candidate, shape it to size, and get to work.
3mm allen keys run about thirty cents apiece. Just remember to toss a few in the shopping cart next time.

The stick figure logo is clearly intended to convey the idea of “keep out of reach of children,” but the vibe is definitely “play keepaway with children.”
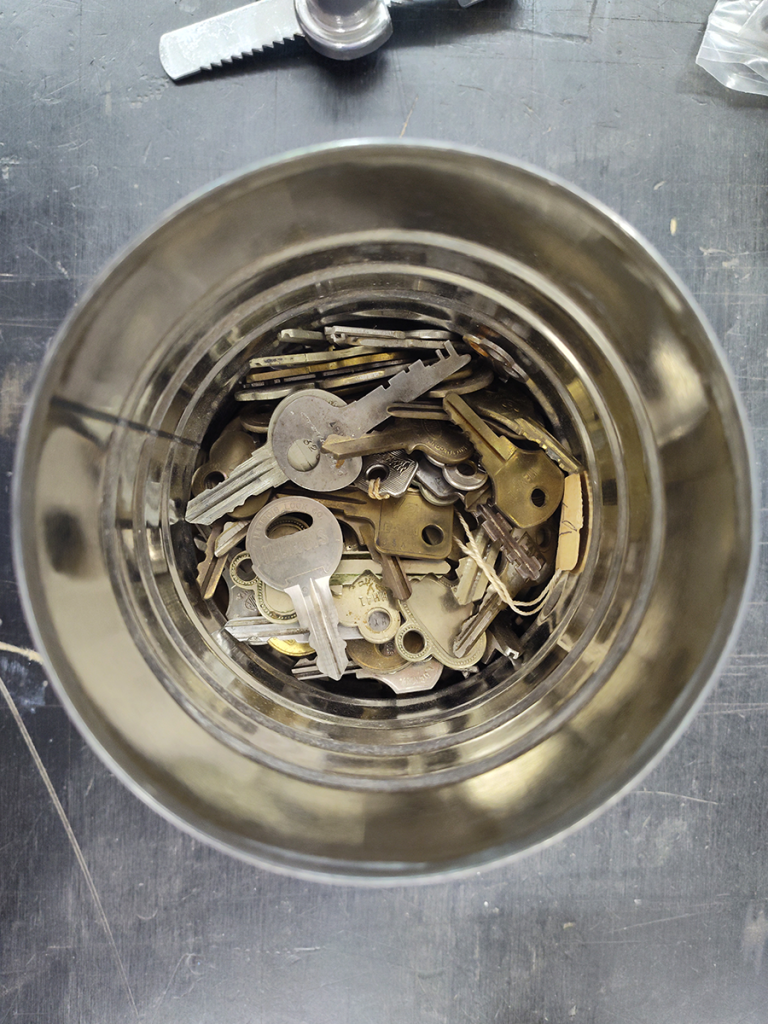
Another coffee can, this one half-filled with old keys, most unlabeled, almost certainly all of them to locks long gone. Not like “bucket of keys” is a prime organizational strategy, so one supposes these can be used for some exciting new arts and crafts project?
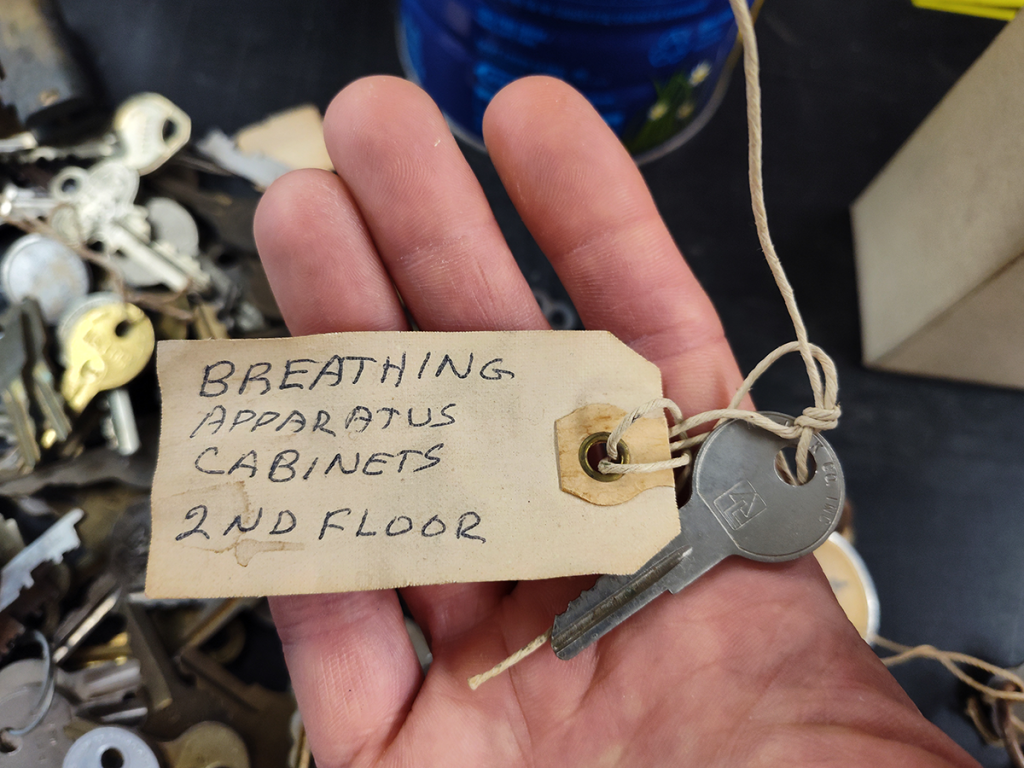
Apparently, at some indeterminate point in time, the second floor held cabinets with a breathing apparatus inside. Respirators? SCBA systems like firefighters use? SCUBA systems like divers use? Pretty confident that those’re long gone.
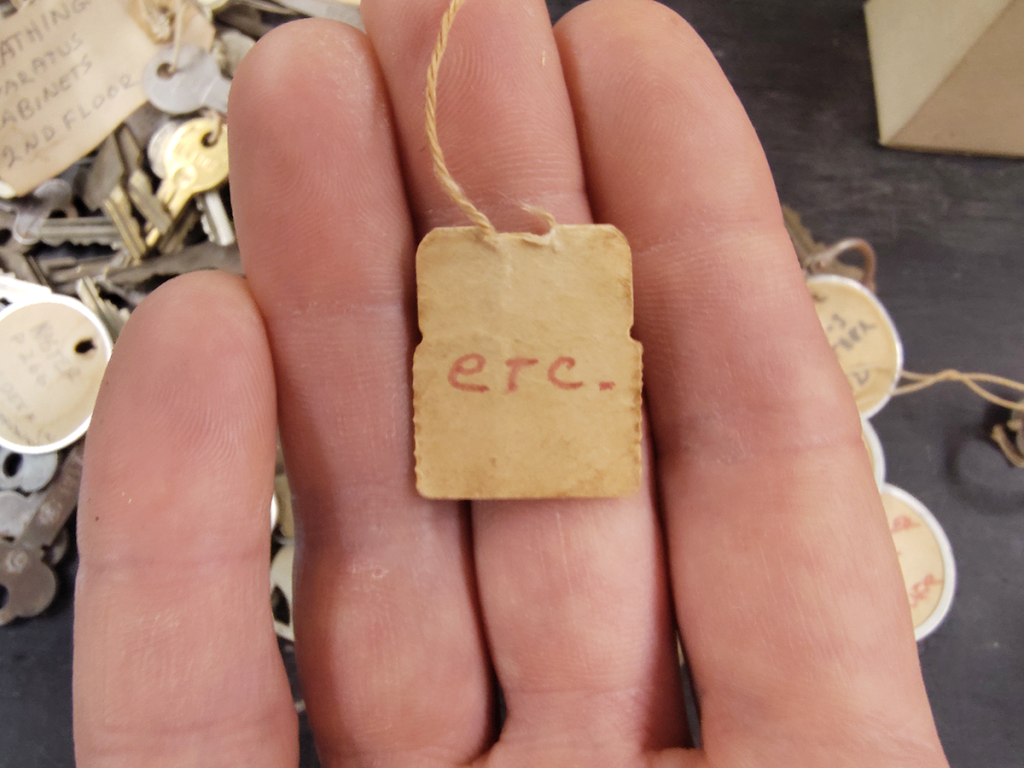
This one has become disconnected from its key, so your guess is as good as ours. What useful information could that possibly offer? Like, even if we knew which key it identified?
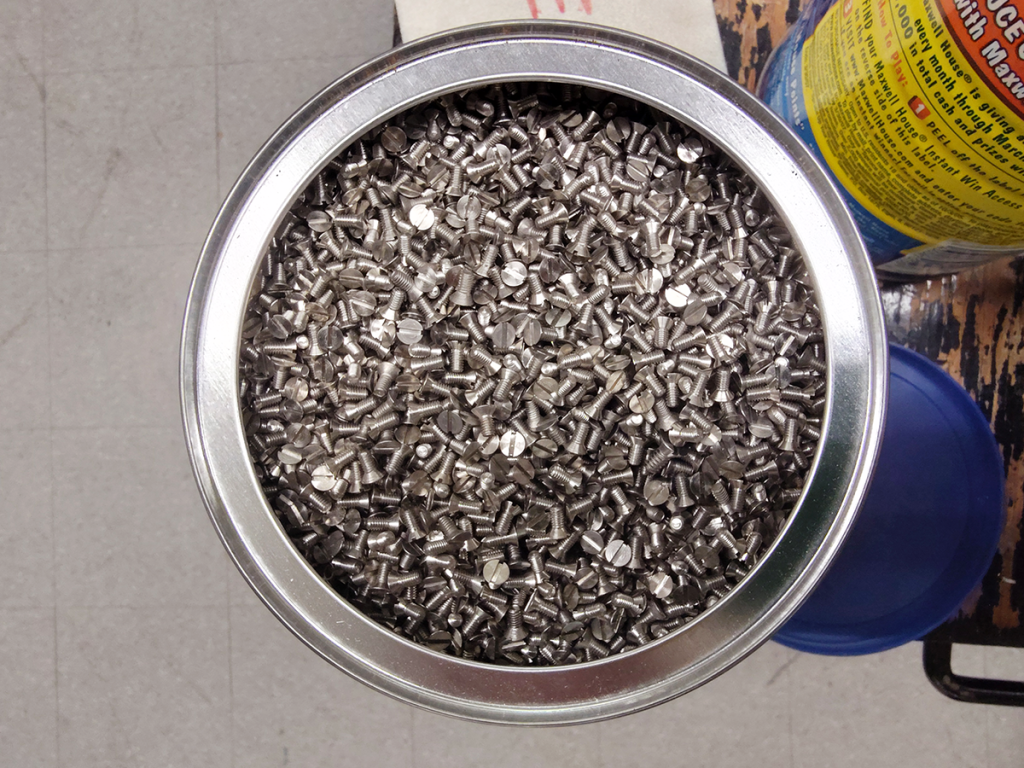
It’s an old coffee can full of tiny screws. The ones on top appear to be #3-56 (fine thread) in stainless steel, though the variety beneath is diverse. All in all, weighing in at approximately 3,063g. Individual screws weigh in – from a coarse sample – between 0.11g and 0.67g each.
Not going to throw them out, but just as unlikely to know when they might ever be put to use. Or how, precisely, we’d expect to find the necessary screws buried in such a mass.
Just, please, don’t drop it on the floor.
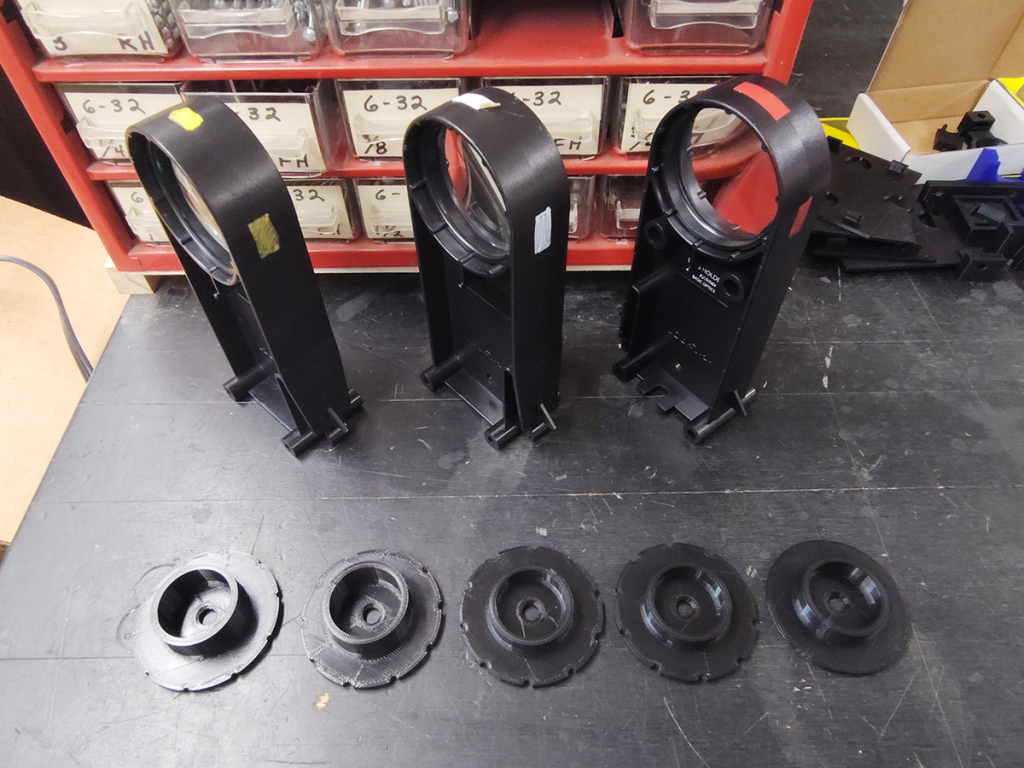
One of the key benefits of a 3D printer is the ability to create prototypes rapidly. Doesn’t quite fit? Adjust the model, re-slice, and set the new print to go. When you’re down to sub-millimeter tweaks with each iteration, it’s a relief to let the machine whir and ooze out the next version.
If at first you don’t succeed, try again and again and again and again…
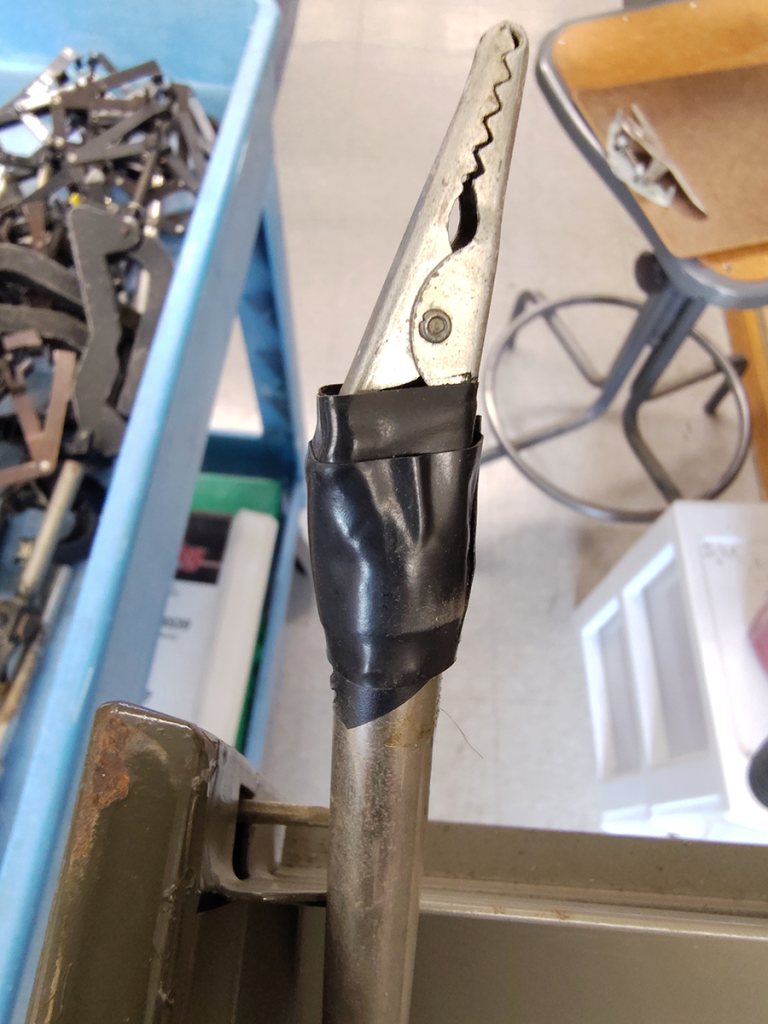
Sometimes you stumble across a delightful artifact. One with an unknown, perhaps unknowable history. Clearly, at one point, it was necessary to hold an object in a particular place, and none of the available clips, clamps, or clasps were up to the task.
A steel rod, an alligator clip, and some electrical tape to the rescue!
What’s fascinating about this isn’t the specifics of the object, but the way that these temporary, stopgap solutions can linger. After enough time and use, they become ordinary and unremarkable. Familiar.
Until, some indefinite period of years later, a fresh set of eyes spots them in an old drawer. Look at what’s in here!
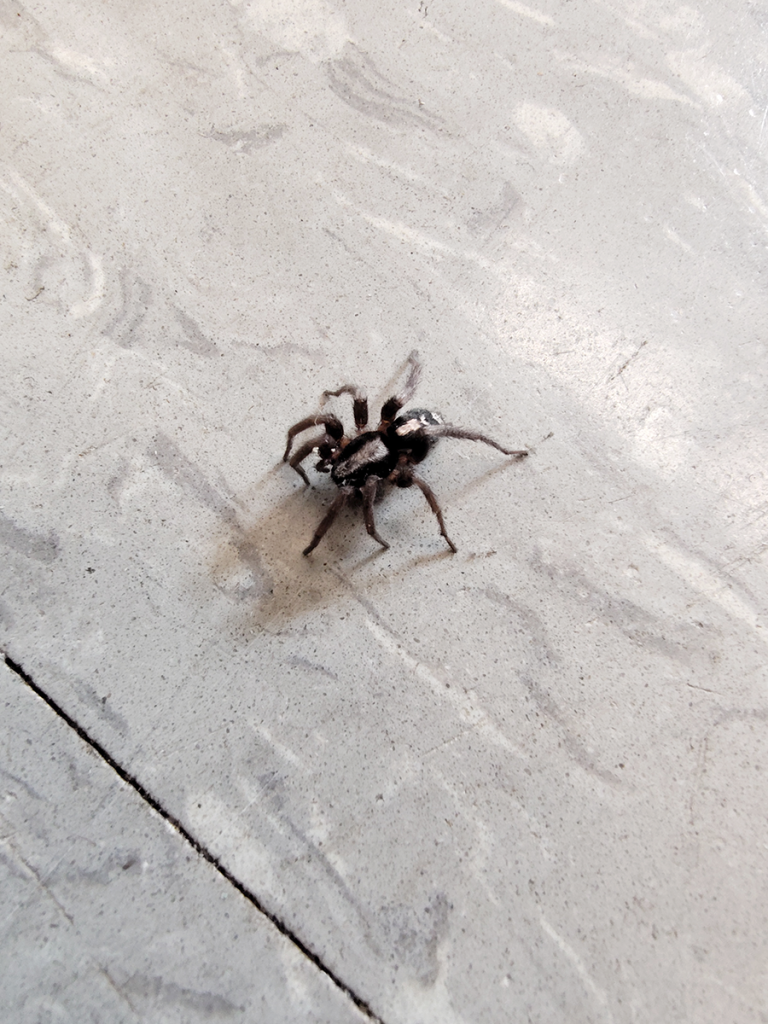
Spring is here, and everything is coming back to life. That means our little basement visitors are back, too!