
Take two function generators, an old CRT oscilloscope, a couple of power and BNC cables, and look! Whirling, dancing lissajous figures!
Chunky knobs! Clicky buttons! Drifty outputs! Squiggly curves!
Discoveries in the Physics & Astronomy shop | Science, curiosities, and surprises
Take two function generators, an old CRT oscilloscope, a couple of power and BNC cables, and look! Whirling, dancing lissajous figures!
Chunky knobs! Clicky buttons! Drifty outputs! Squiggly curves!
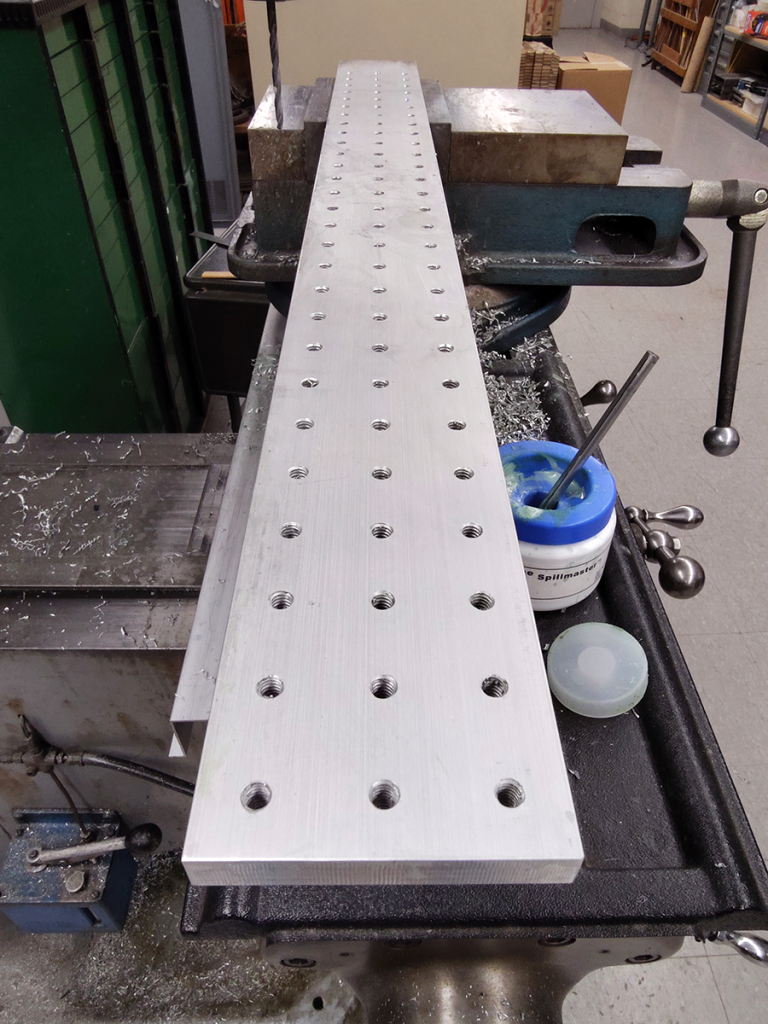
Need a thing, but can’t get it in the right size, right shape, right odd set of dimensions? That’s one reason to keep a workshop in the basement. If we can possibly make it, we’ll certainly try.
Pictured: a custom optics breadboard, for a very specific apparatus, with many, many drilled, tapped, and cleaned 1/4″-20 mounting holes. It’s big, and shiny, and has a bright future ahead!
Probably with lasers or something. Lots of lasers around here.
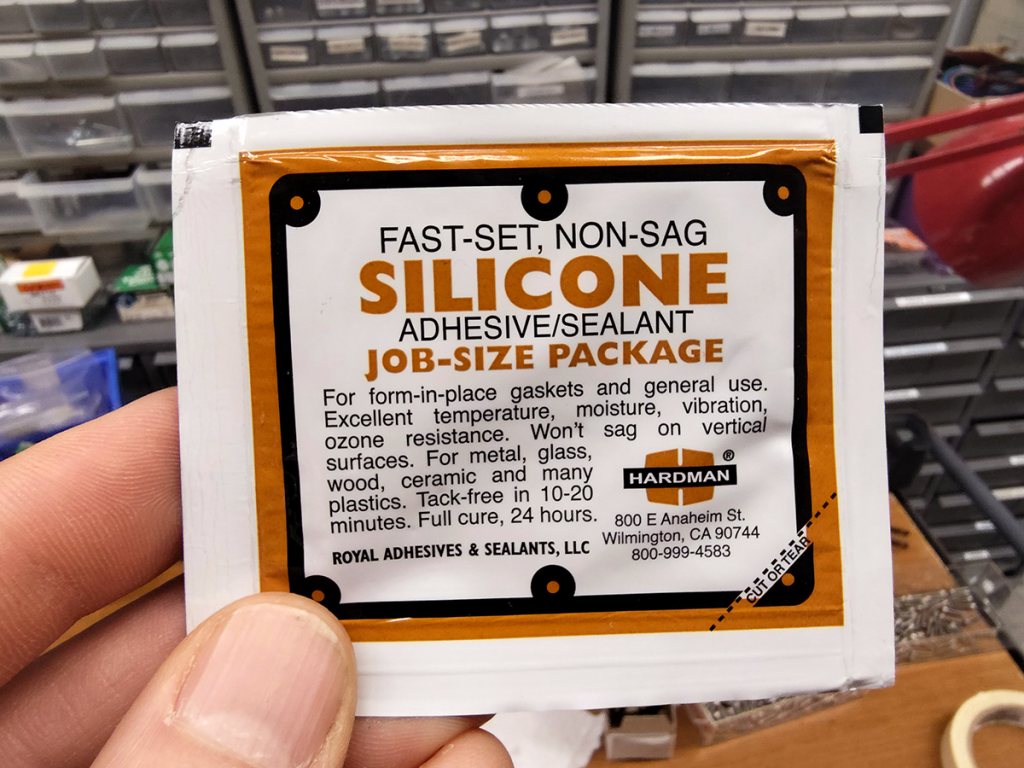
Because sometimes you need to seal up a joint, and the materials that can do the job don’t play well with adhesives. When working with Delrin, you’re thankful for the excellent machinability, less so for how much of a struggle it is to get anything to stick to it. Could be worse, right? Could be PTFE (Teflon).
Even this silicone sealant is a “sort-of” solution, and it sticks to everything. Always threatens to make a real mess of things. But it’s reliable for waterproofing and can take a variety of abuses from heat to chemicals. And it comes on a “job-size package.”
Having just gone through about a dozen of these things on a single job, we may take some issue with that descriptor. And the rather optimistic 10-20 minutes to being tack-free. But it’s still impressive and effective stuff.
And compared to some other goop around here, doesn’t stink to high heaven.
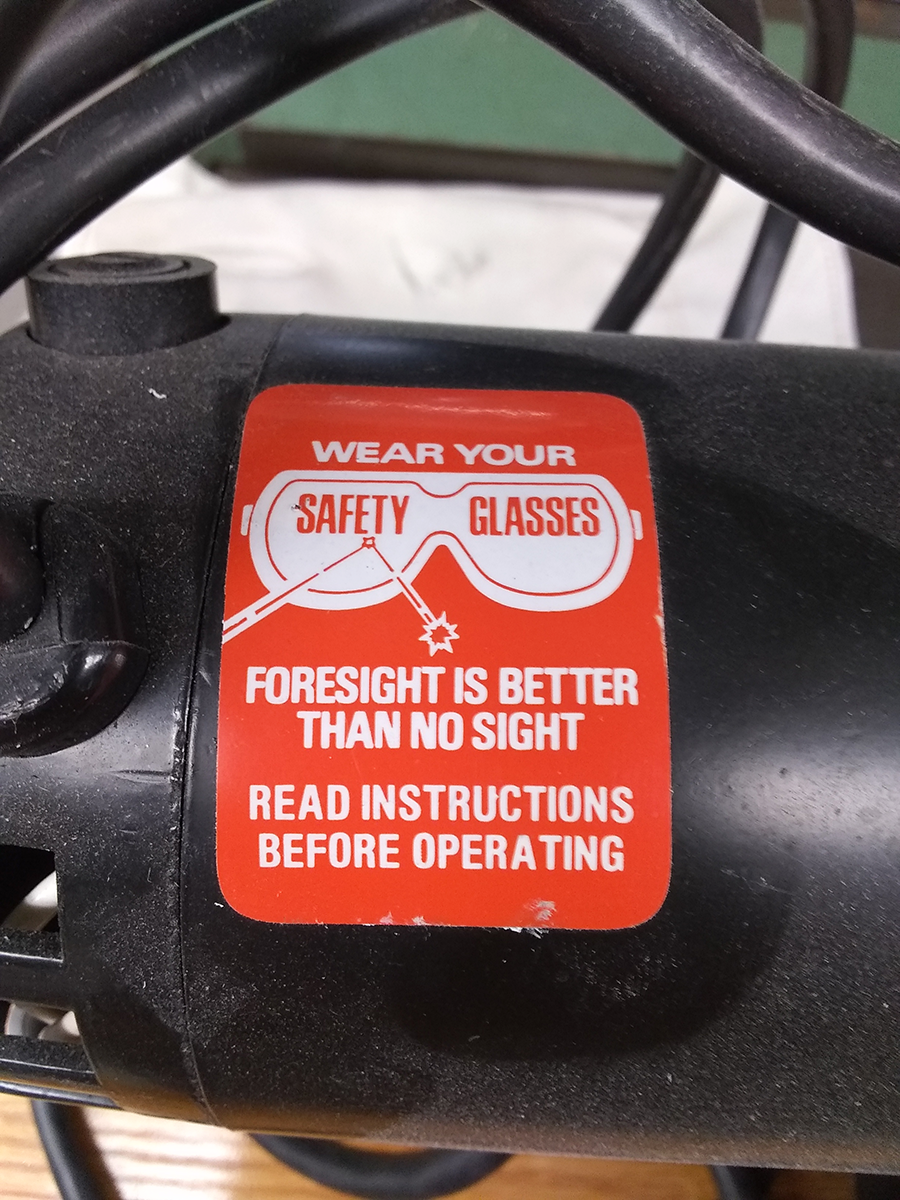
There are many, many reminders in a workshop to wear appropriate protective equipment, and the first time you watch a flying piece of material bounce off of your safety glasses, you’re ever so grateful. This one’s one of our favorites.
Yeah, when you see enough of them, you get opinions on label design quality.
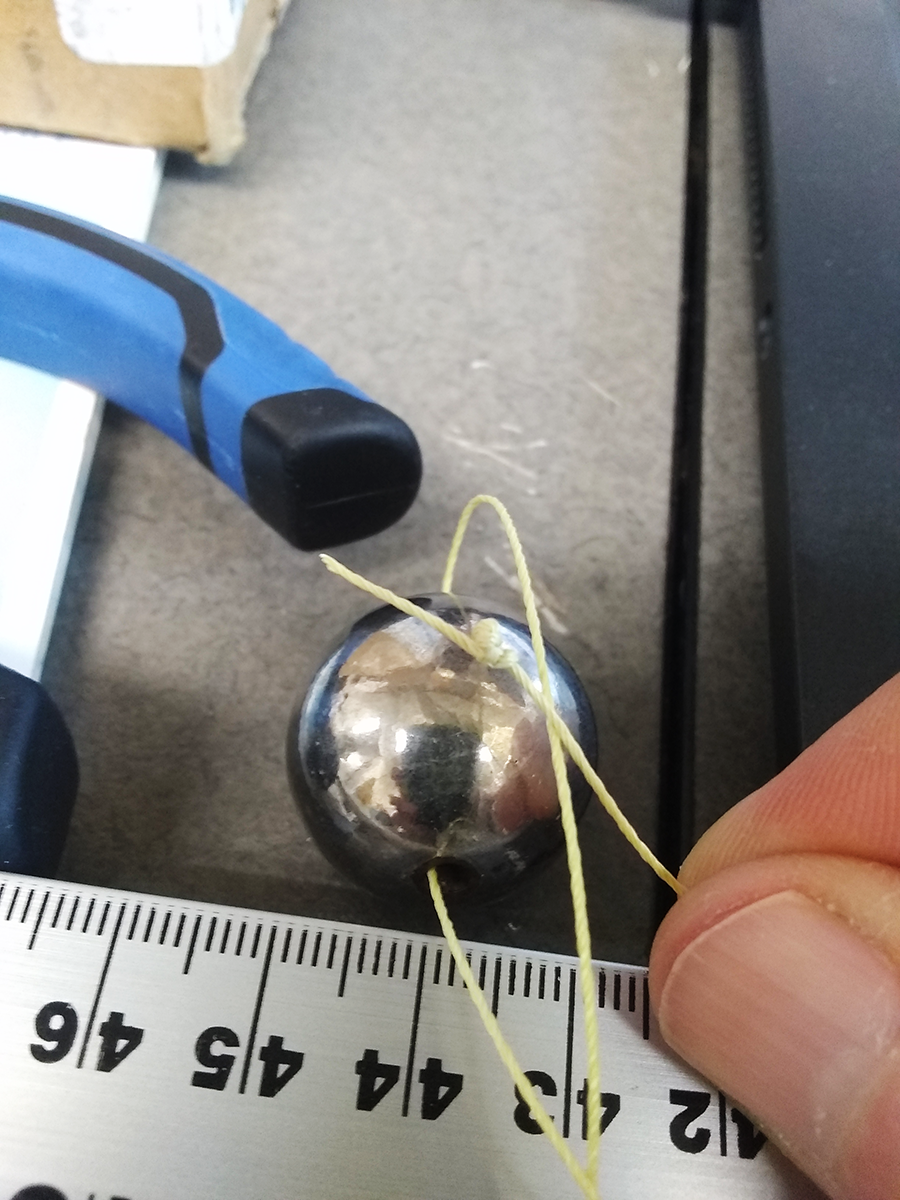
There are a handful of occupations and/or hobbies which reward those interested in the craft of knot-tying. The big ones include boating, camping, climbing, and fishing. (There may be hobby overlap.) Arborists, equestrians, and surgeons need specific, functional knots, too.
Turns out so do lab technicians.
We’re slowly adding knots to our repertoire, for all manner of purposes. Pictured above: a doubled-up double overhand stopper. (A single knot was insufficiently stopper-ing given the thread diameter and pendulum bobs on hand.) Alpine butterflies, bowlines, non-slip mono loops, trucker’s hitches. Now we just want an excuse to use the Double Dragon Loop!
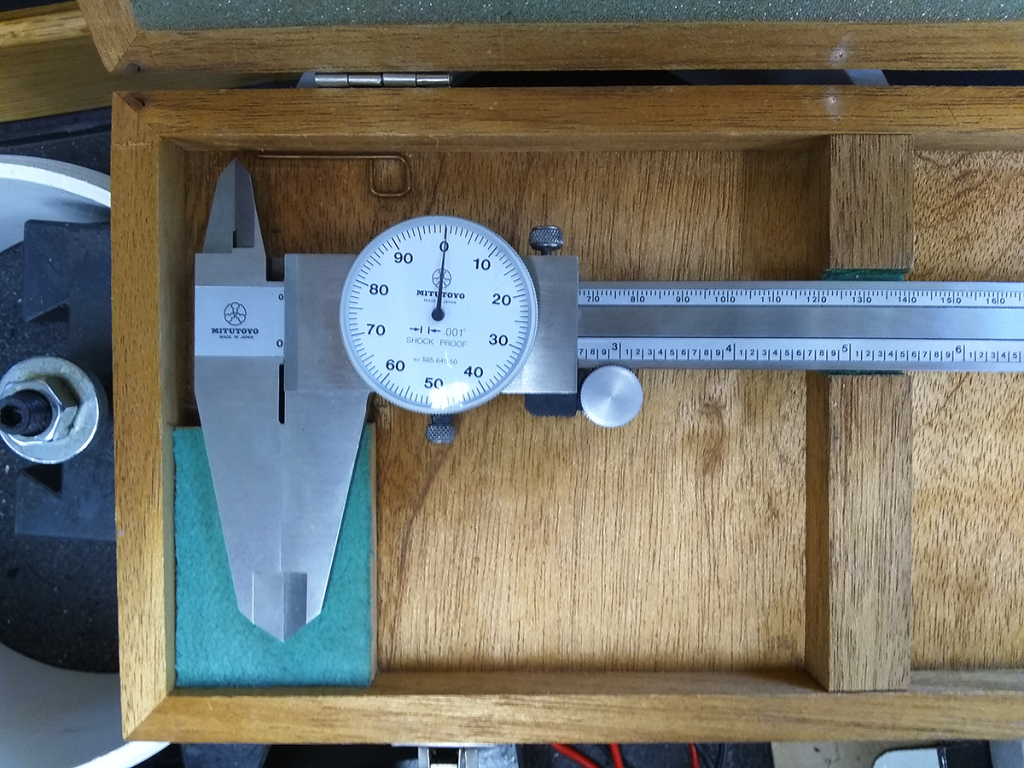
There are endless options for measuring sizes, and we use different tools for different purposes. Rulers, meter sticks, tape measures? Check. Vernier calipers, both mechanical and digital? Check. Precision micrometers? Check.
Counting twelve-inch floor tiles? Check.
Precision matters, as does scale. A tape measure is helpful when moving furniture, even if it can’t determine the thickness of a sheet of paper like a micrometer can. Micrometers: really useless for determining if that new cabinet’s going to fit beside the CNC machine.
These Mitutoyo dial calipers – good for up to 12 inches in 0.001-inch increments – are kind of like a super-precise ruler. They’re in decimal inches, not metric, which makes them ideal for use with our lathe: also inch-only. (The calipers are more precise, so you know when you’re off by 0.003 inches.)
Not that we need that level of precision machining every day. But it’s good to know the option’s on the table.
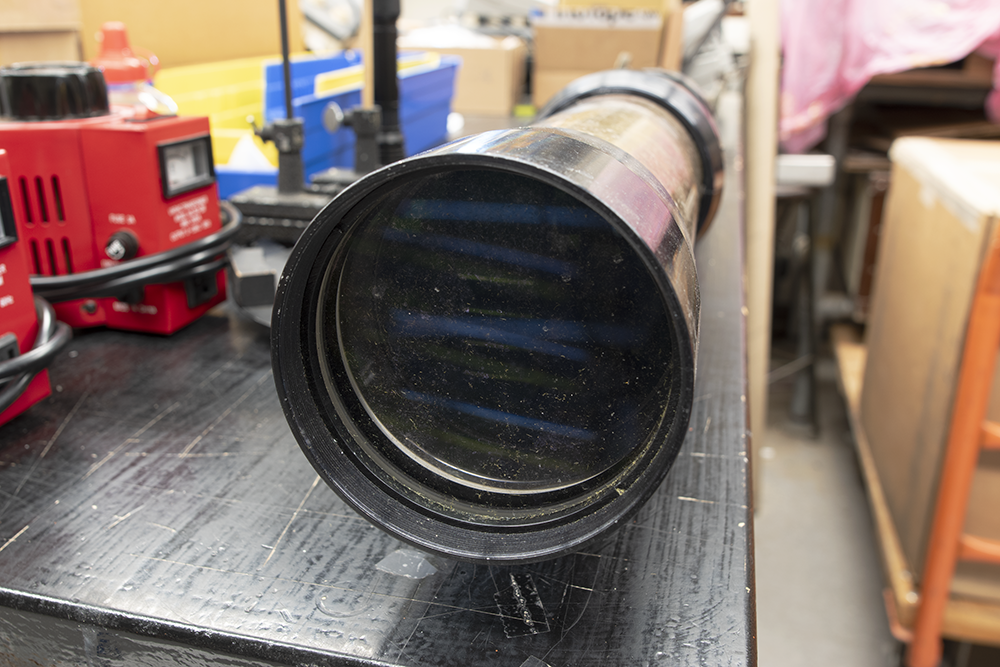
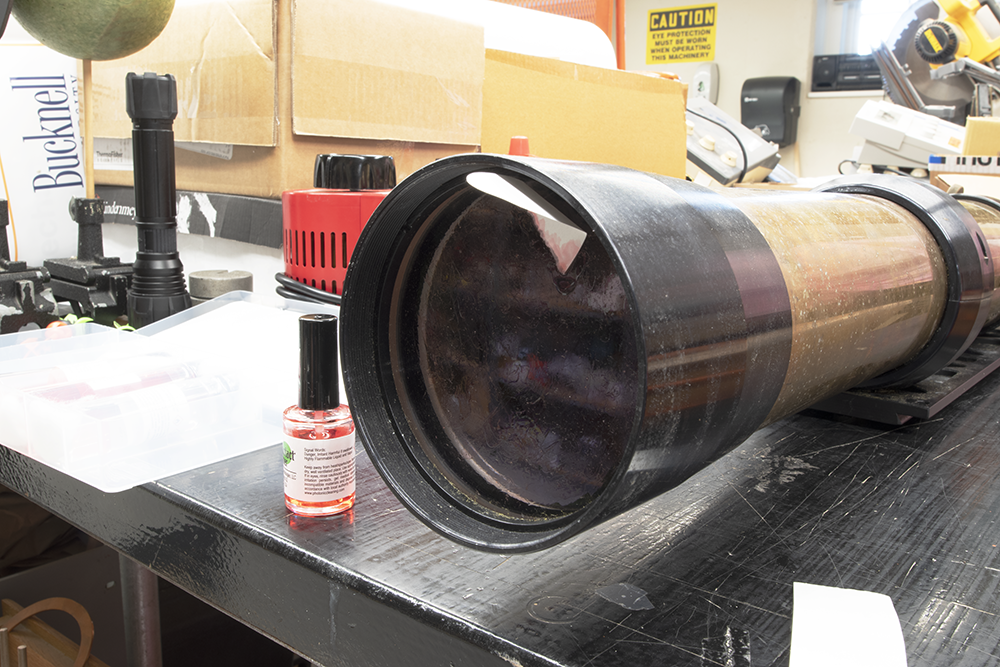
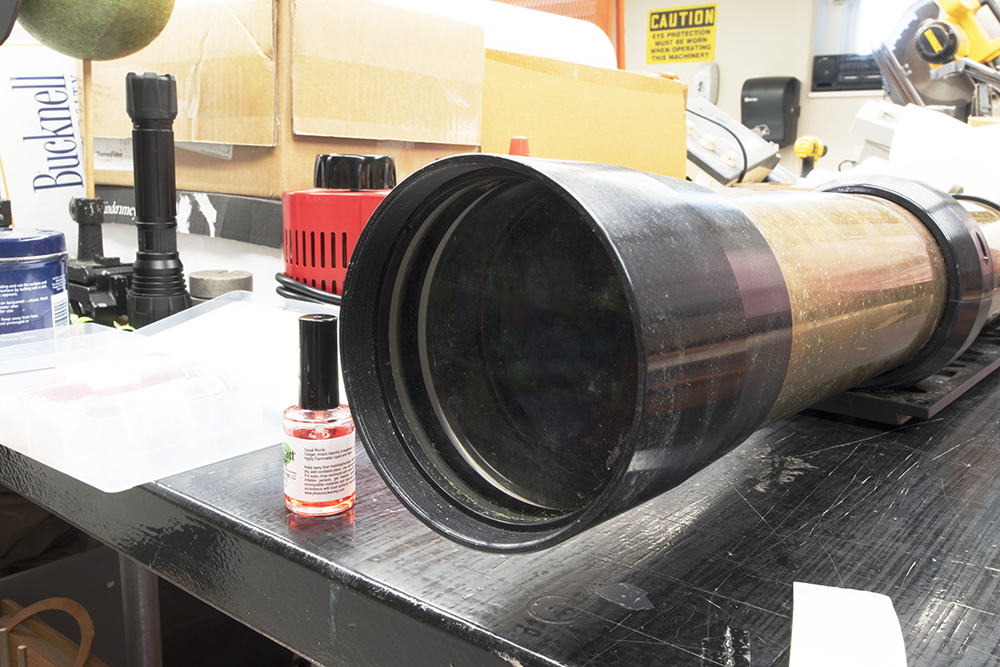
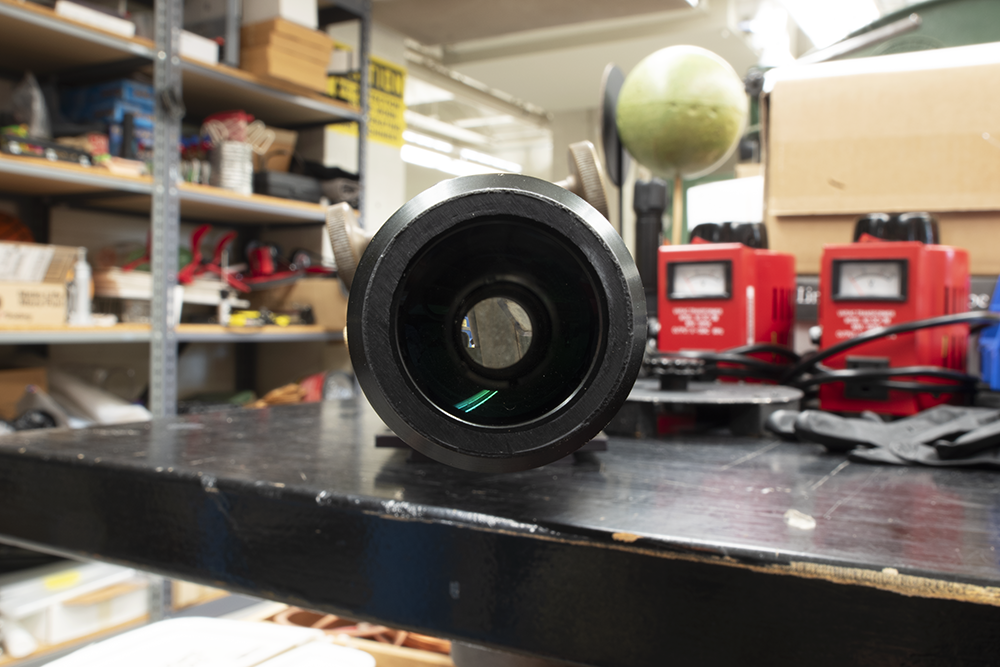
For the most part, the light accumulation of dust, pollen, and other stuff on the objective lens of your telescope is a thing you live with and ignore. The damage you can do to the lens and its optical coatings is far more severe than the minor loss of image quality from tiny flecks. Known and accepted trade-off.
Here, however, we have a classic TeleVue Renaissance that’s still in good shape. Aside from the dust and dead spiders, anyway. Exact age is unclear, but we can roughly place it between TeleVue’s founding in 1977 and the construction of the “Halley’s Comet” models in 1985. Serial number 1100, for anyone keeping track at home. Even dust-covered, the optics appear good at a quick glance, and they have a reputation for remaining in good shape for a long time.
There’s a bit of chromatic aberration when you look closely, an issue which has been resolved in their current models. (Optics = hard.) The design type is called a Nagler-Petzval, which uses a pair of lens doublets to correct numerous distortions caused by refraction. Every design has its pros and cons; this one’s quite nice. Our version has – we think – an air-spaced doublet (two lenses utilizing different curvatures) as the objective, and a cemented doublet in the rear.
At least, that how the Halley’s Comet edition was made. The current optics update utilizes two air-spaced doublets – see the diagram for the NP101is – so it’s reassuring to see that the improvements are incremental. Good sign for the one we have.
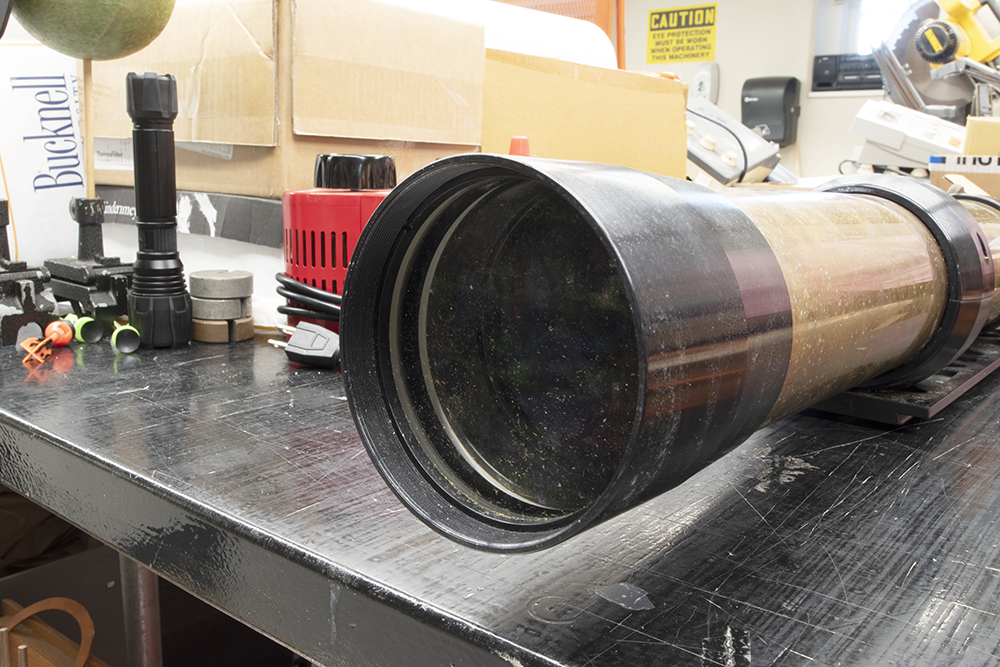
Okay, the brass could’ve aged better, but it’s got character!
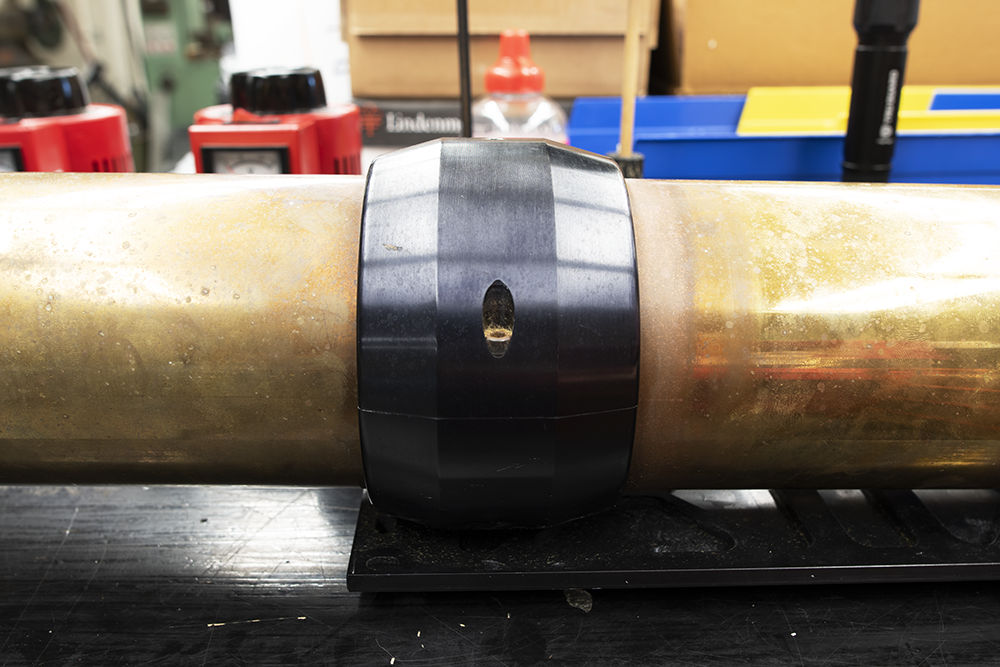
Black on brass looks good.
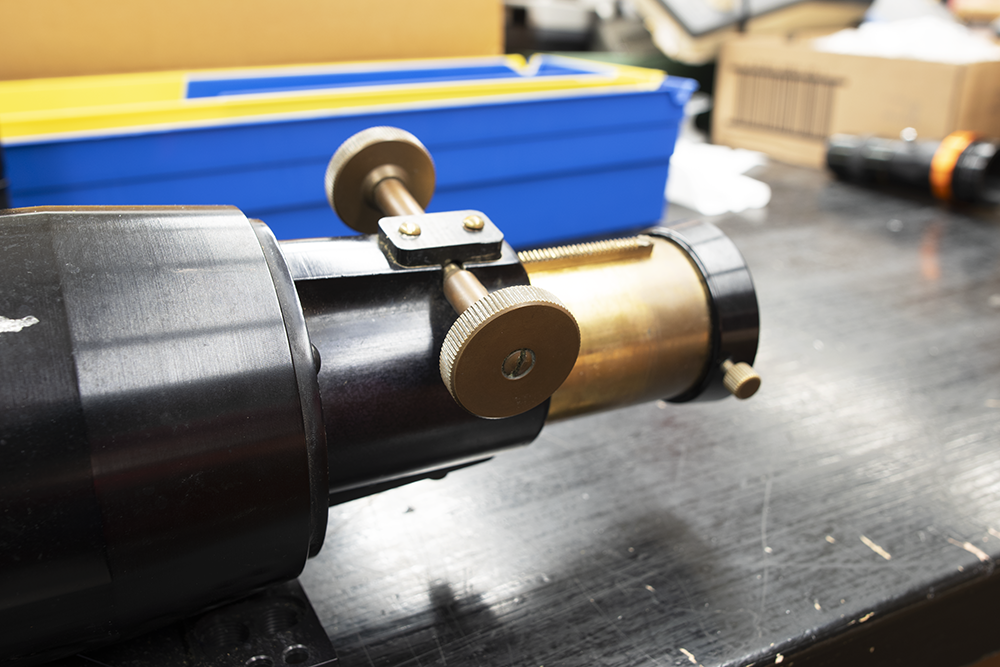
Even the knurled knobs on the focuser are brass. We don’t want to leave this for display, however. We want to see the stars!
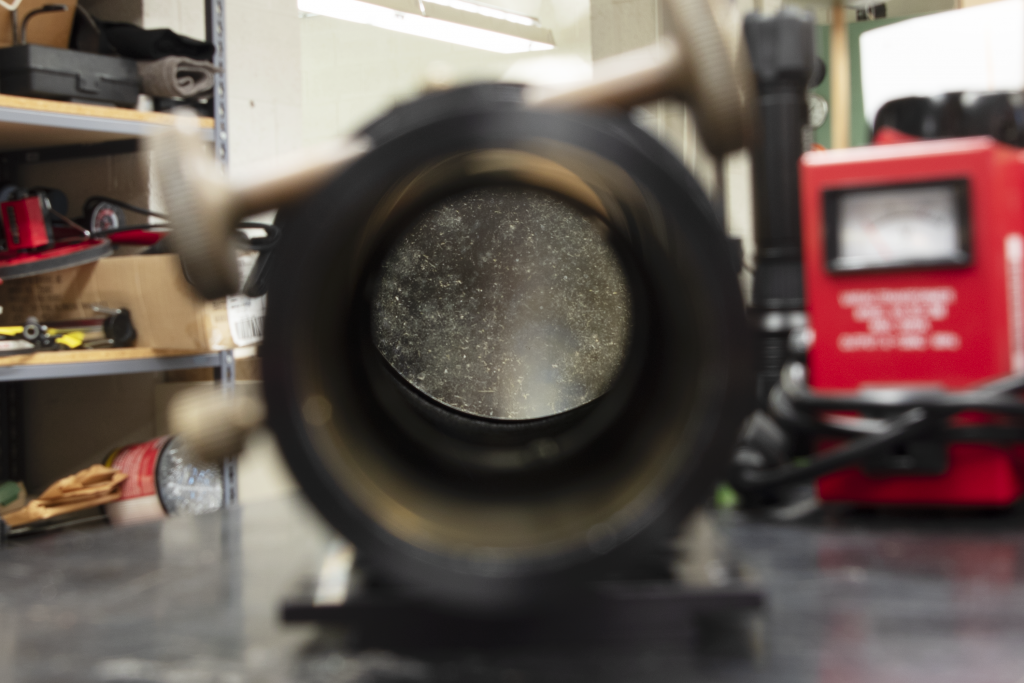
That dust, though.
Yeah, definitely a problem. A cleaning is in order.
Not pictured: the dead spiders removed with air from a bulb blower. Dead spiders do not improve optical quality.
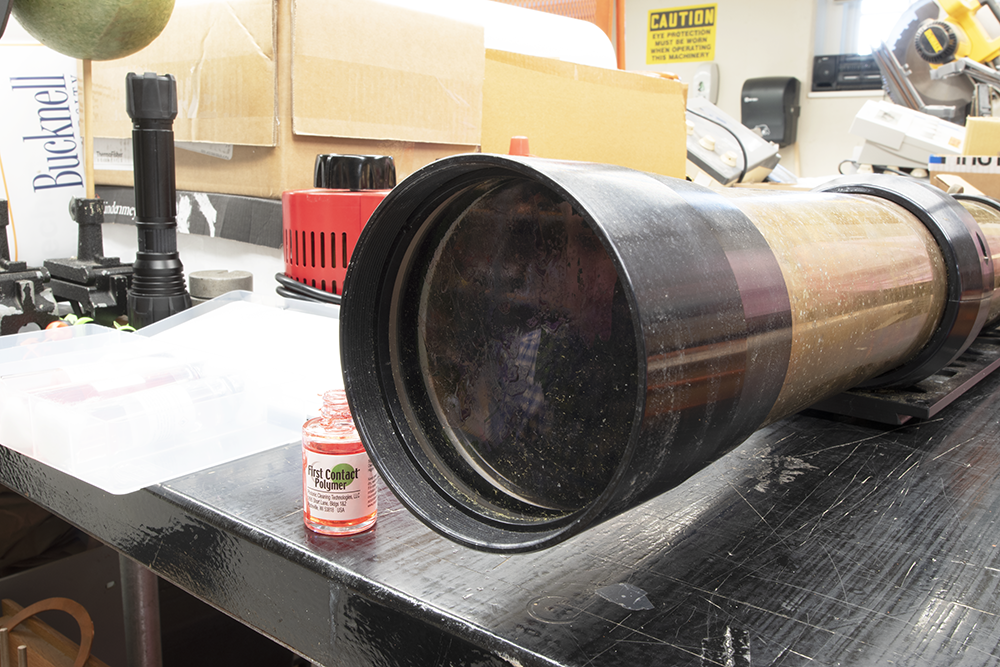
Here, we’re applying a coat of First Contact polymer cleaner, an expensive but effective treatment for safely removing gunk from precision optics. Comes in a wee bottle like it’s nail polish and smell like nail polish remover. Because it’s got acetone and other solvents in it.
Once it dries, that little tab lets us pull away the pink film with all of the dust and debris stuck in it. A good time to wander away from the stink of volatile solvents and get a cup of coffee.
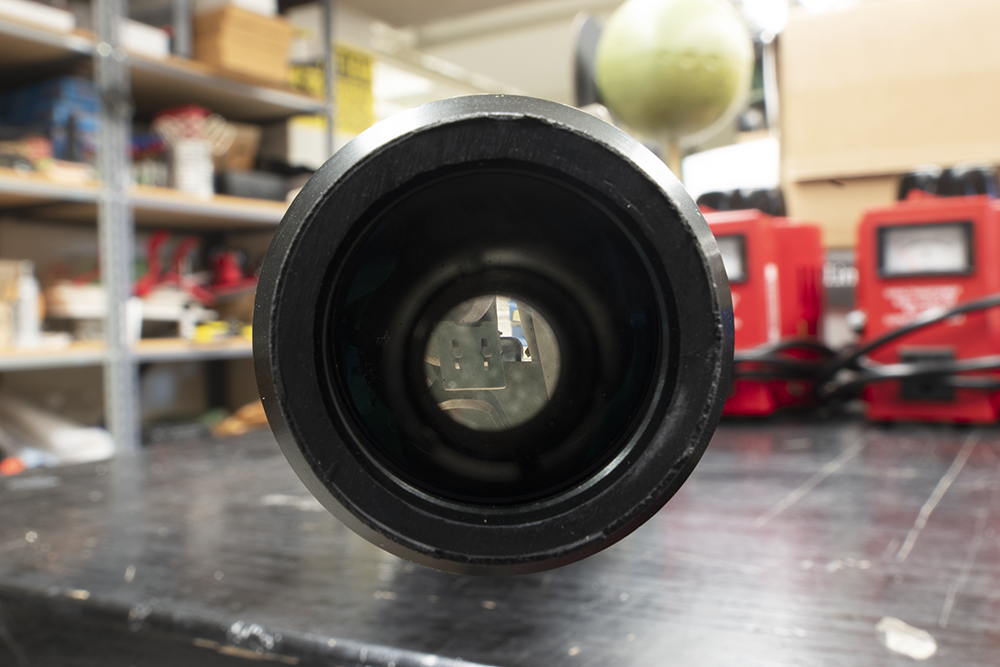
And, well, that’s a substantial improvement.
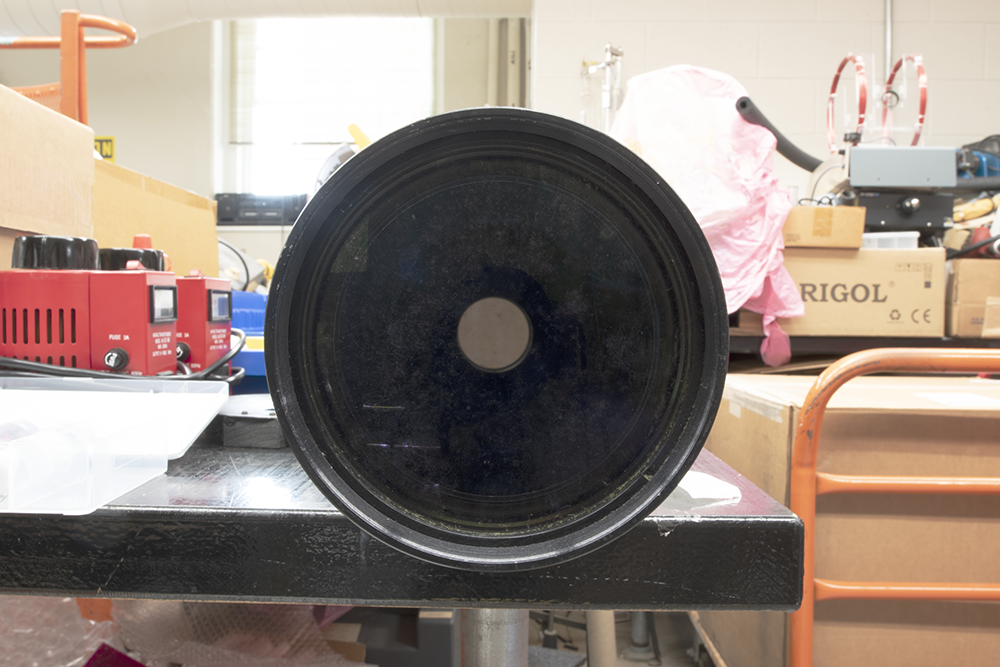
It’s not perfect. The polymer is very good at removing particulates, but less so at water-soluble stuff. Once we evaluate this with a camera setup, we can see if a follow-up cleaning with deionized water is necessary.
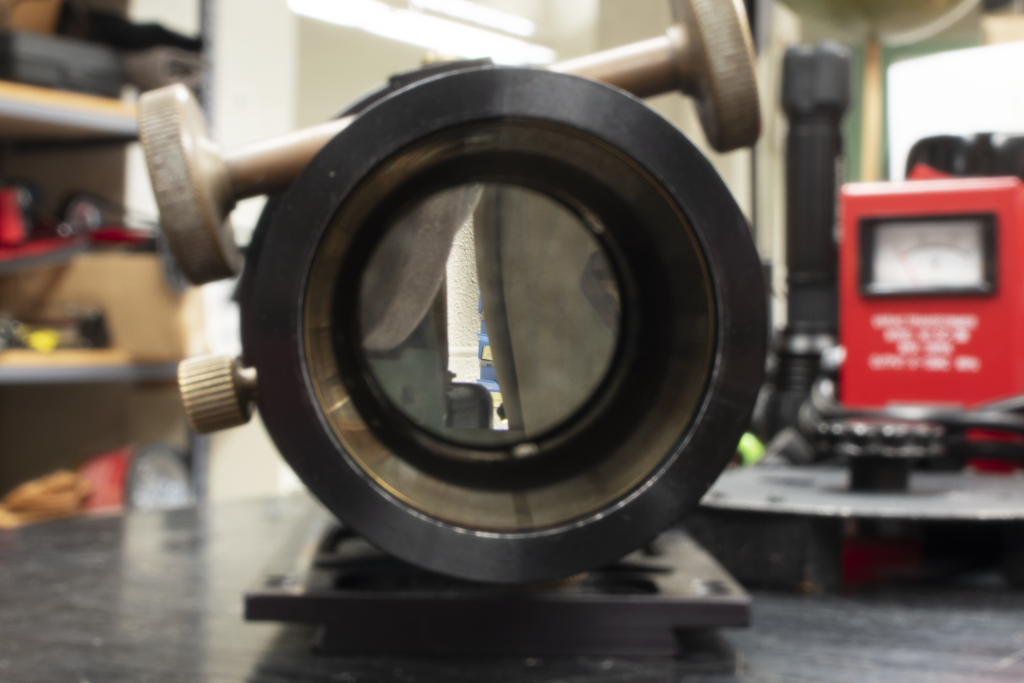
Problem there, of course, is that we run the risk of introducing tiny scratches in the process. Could be worthwhile if the effects are still visible, but we’re still erring on the “do a minimum of harm” side of things.
Will it live up to its potential as an imaging ‘scope? Maybe. There’s a fair chance. If not, we’ll keep it around as a stylish yet usable throwback for visual observation. The best telescope, as they say, is the one you use.
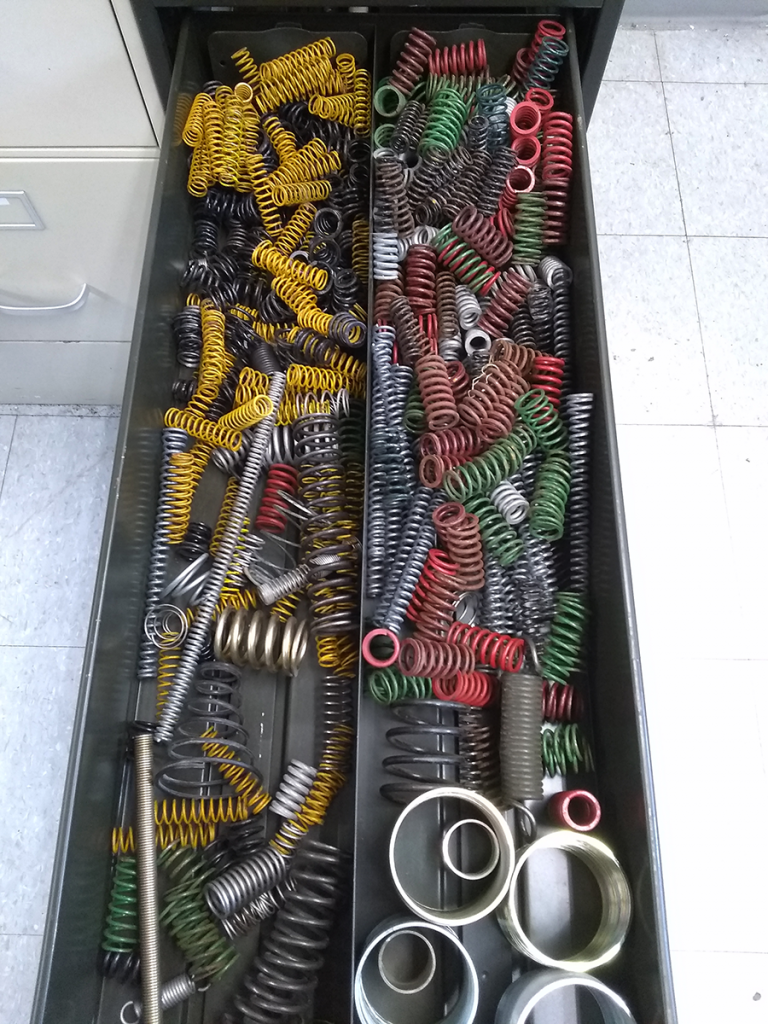
Springs, of so many different sizes, spring rates, colors. Drawers upon drawers of them, some in good shape, others… not so much. Just because we don’t need them now doesn’t mean we should discard them, right?
Okay, it’s probably worthwhile to dig out the overextended ones and send them to the scrap heap.
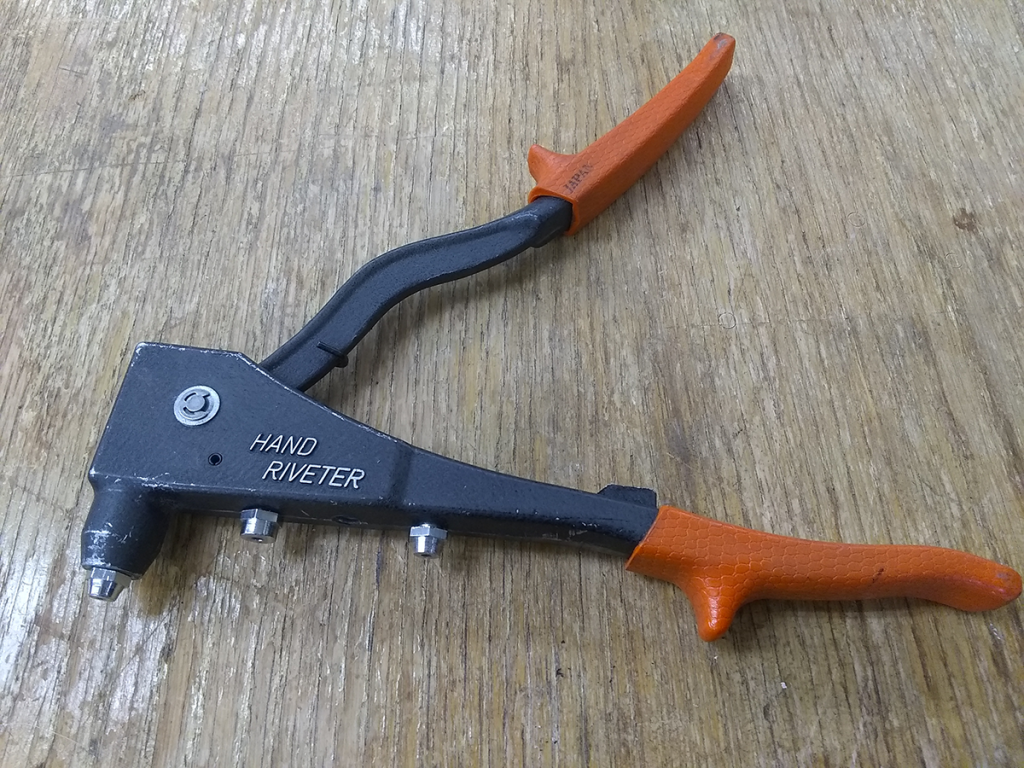
Pop rivets haven’t seen much use in the shop of late, but they always remain an option. You put one in the nosepiece of the tool, slide through a pre-drilled hole, and squeeze the handles. That action draws the rod and bead back to the tool, deforming the rivet to compress your materials together as the bead on the far side “pops” off. Can be handy, especially when you can’t access the other side of something easily.
This one was acquired at the tail end of the 1970s, for the not-insignificant sum of $25, or $100.54 today. You can pick up the equivalent tool from McMaster-Carr with delivery tomorrow for $31.25 plus shipping, whatever that tells you about the current state of the economy. Don’t read too much into it.
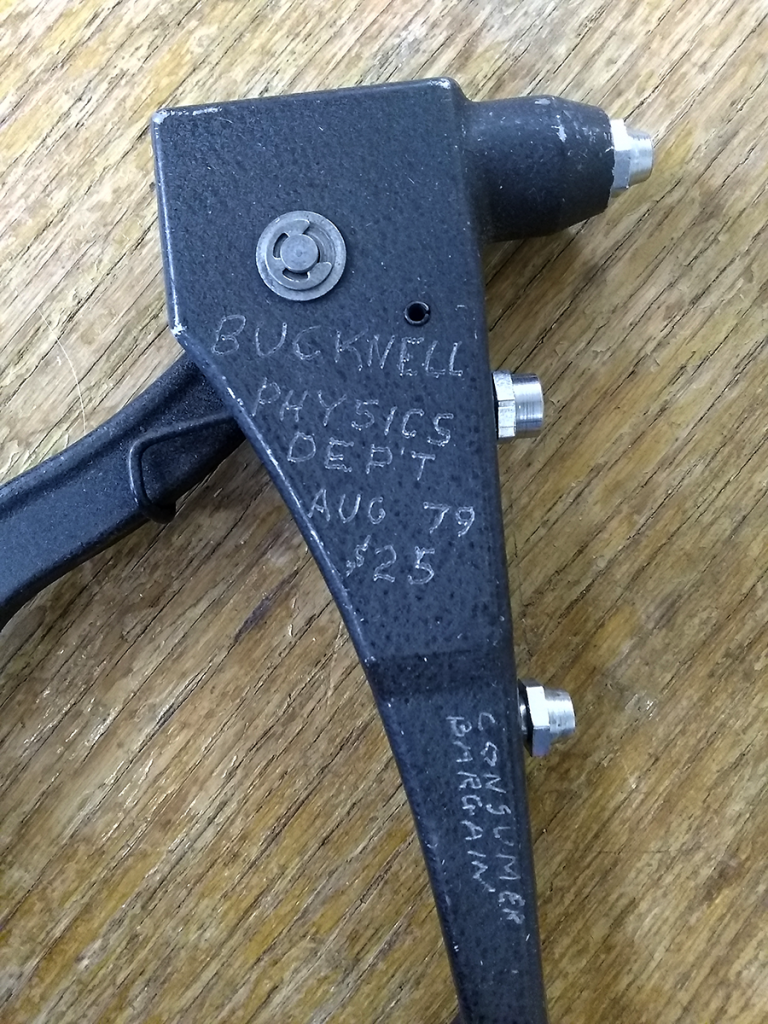
Note that the handle has also been etched with “Consumer Bargain,” which is cryptic and delightful. Clearly, this was a steal.
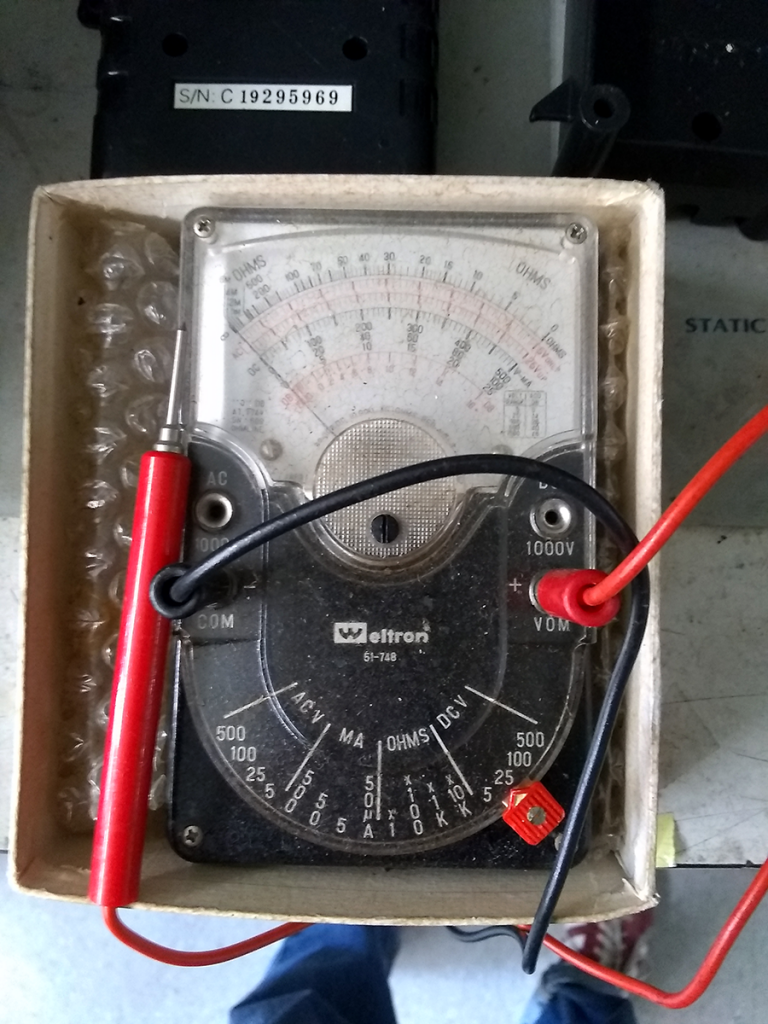
Stumbled across this little old gem while cleaning the Observatory. Age unknown, could use a little cleaning, but it still mostly works. We’re charmed by all manner of objects around here.
Neat-o!