Trig-O-Matic

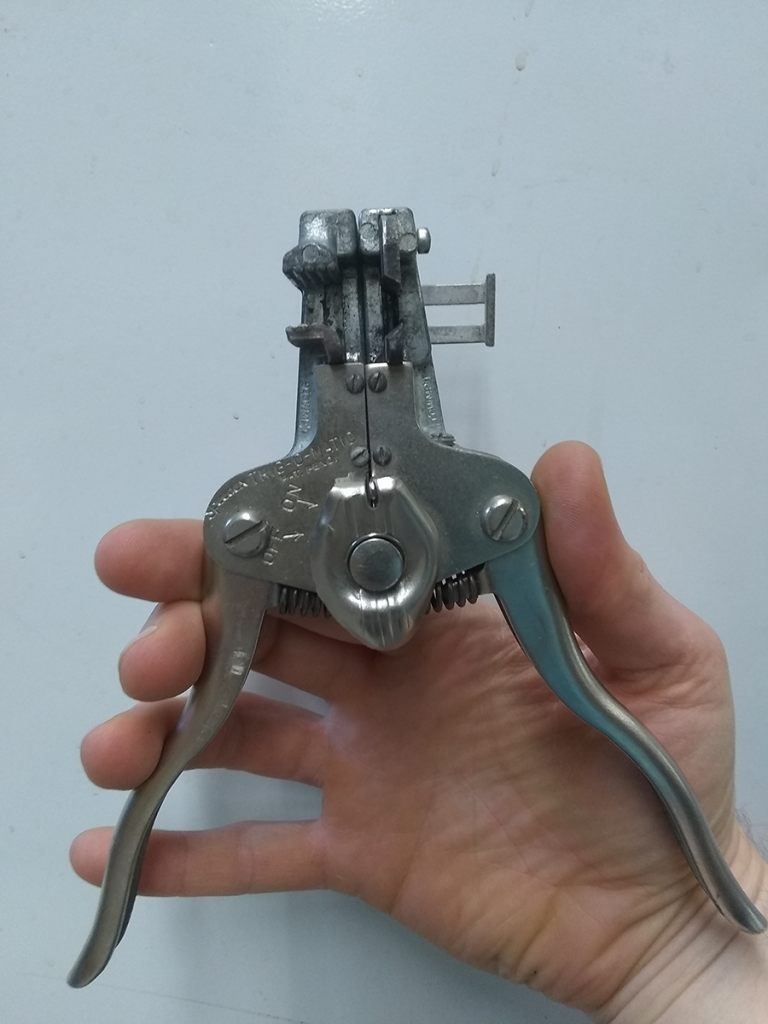
Wire stripper, closed
Grasp.

With enough drawers, boxes, bins, and dark corners in our shop and storage rooms, you’re bound to run across the occasional tool that you wish you’d known about sooner. Maybe it’s useful. Maybe it’s fiercely specific. Maybe it’s just a special sort of ingenious. Maybe it’s a pair of squeeze-and-strip wire strippers.

We have several pairs, but only this one is dubbed the Speedex TRIG-O-MATIC. Nothing like a glorious Space Age name to capture that little extra bit of attention.
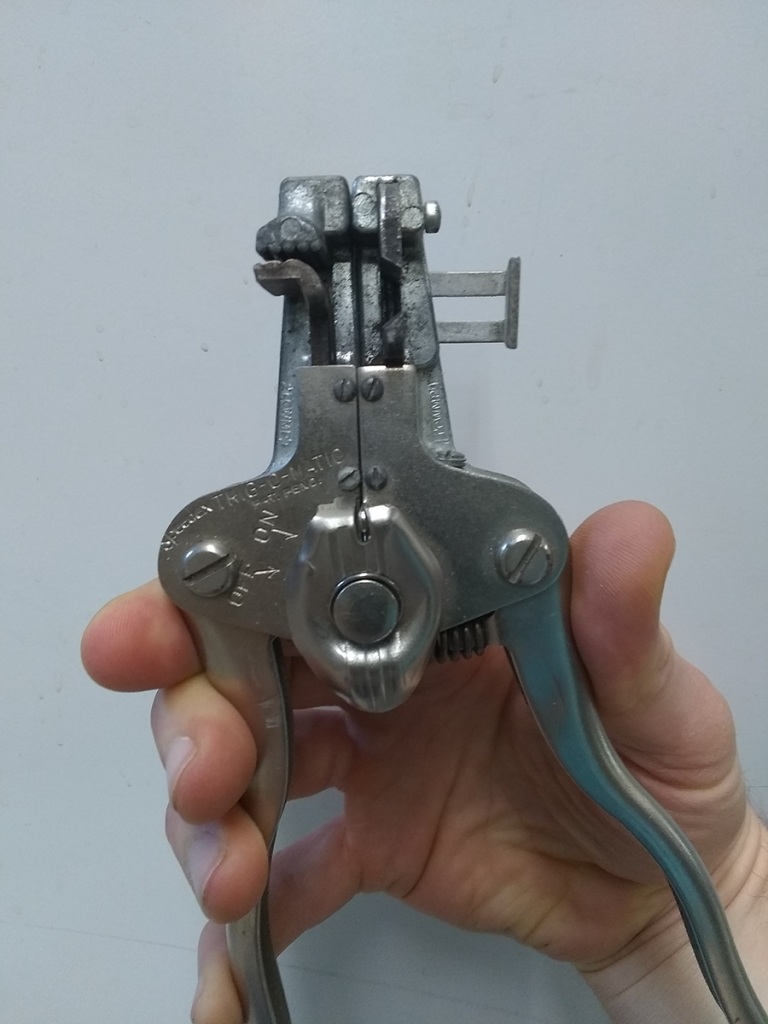
Wire stripper, first stage
Squeeze.

Feed an insulated wire through the clamps – or several, once you’ve had a bit of practice – up to the adjustable guide. As you start to squeeze the handles, the left-side clamps gently grasp the wires, holding them steady. Then the notched blades close, cutting through the insulation surrounding the wire. The last step in this little dance splits the tool down the center, pulling wire and insulation in opposite directions, effortlessly.
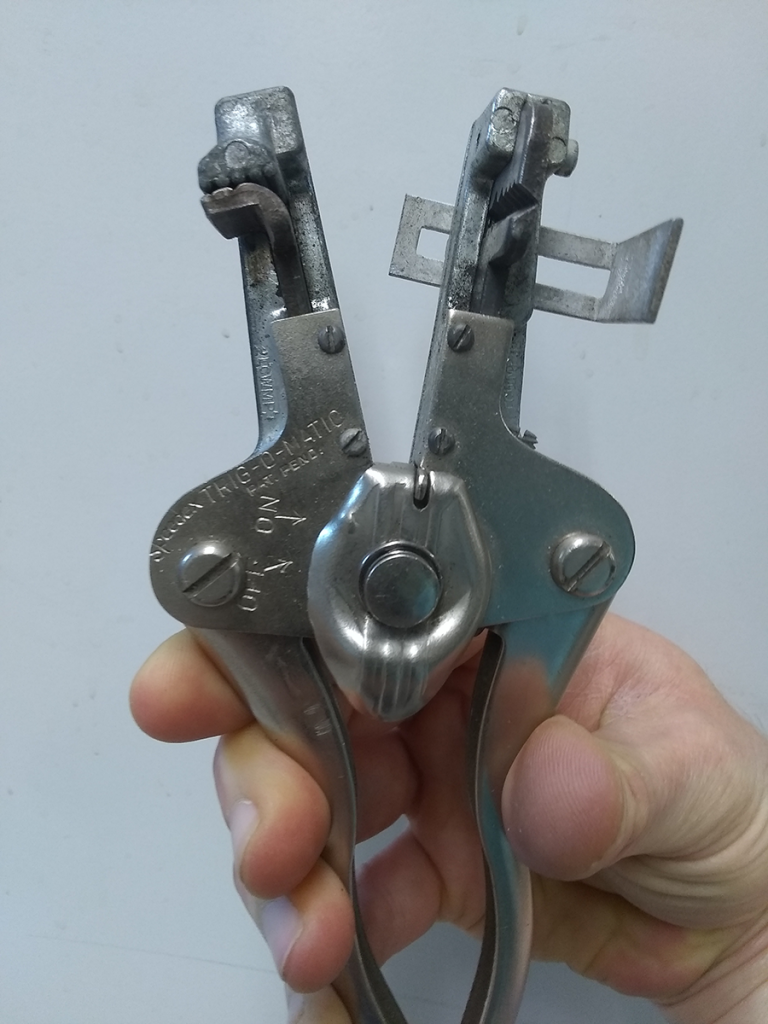
Wire stripper, second stage
Split.

Cleanly stripped wire, courtesy of the two ugliest birds you’ve ever seen. (What two-headed oddity do you see in that picture?)

At this point, you may be wondering when a relatively complicated gizmo like this would be worth having. After all, it has a lot of moving parts, and the more parts something has, the more parts it has that can break. A pair of basic wire strippers, or even just a pair of pliers with wire snips can do the job quickly and cleanly. Right? Well, there are two situations when this little tool is just the bestest thing ever.

1) When a novice needs to strip a few wires and doesn’t need to spend the time (and mistakes) to learn good, practiced technique. We were all there once.

2) When it’s time to put together toy kits for PHYS 212, and all of those lengths of wire* – each with two ends! – need to be stripped and tied. After a while, you get very good at clipping several at once, until it becomes a game to see how many you can manage. Yes, there’s a ceiling.

Toy kits! A subject for a future post: each semester, we put together hundreds of packs for the PHYS 211 and 212 students, full of odds and ends to use for problem sessions. They’re wondrous assortments of odds and ends (and honest-to-goodness toys!) that illustrate the principles of physics through just being neat-o.

* Cutting hundreds of pieces of wire to a specific length is its own problem, and there’s a shop-made solution for that. If you have to do a job a dozen (or a couple hundred) times over, build a jig!
Variac

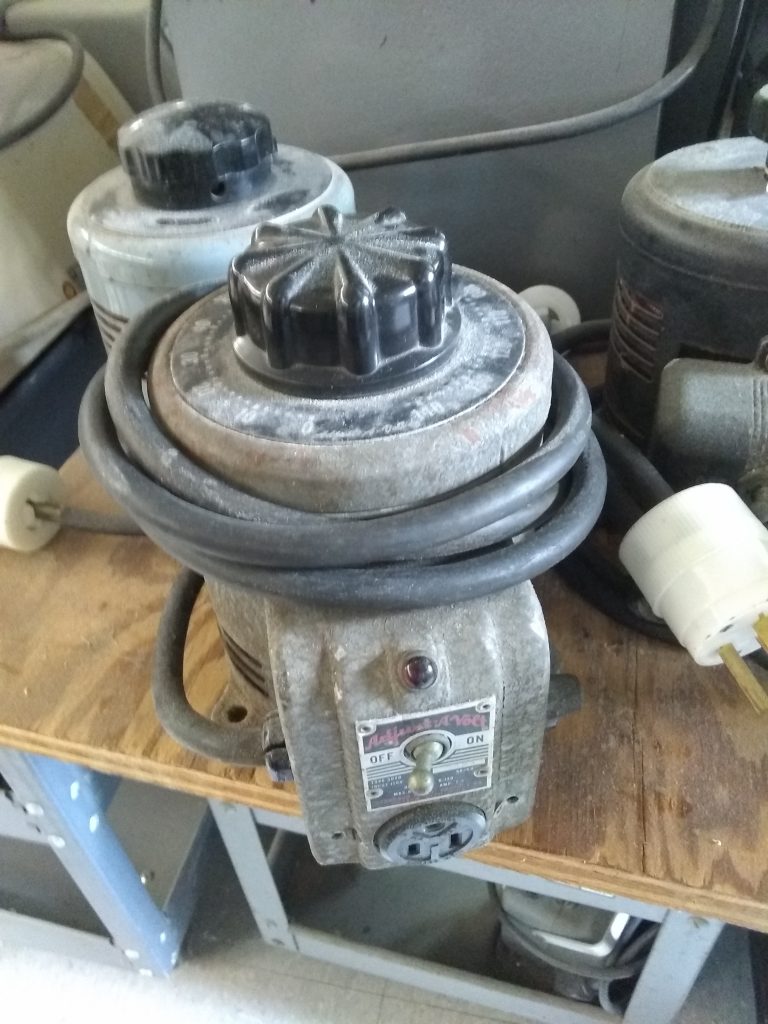
Variac autotransformer
“Adjust-A-Volt”

When a faculty member retires, they tend to leave a variety of things behind in their labs. With the busiest days of physics research behind them, and only so much spare garage and attic space, old pieces of scientific apparatus don’t make the cut. That doesn’t mean they’re not useful to someone else. Sometimes old equipment, built for a long service lifetime, still works pretty well. Those few things built without integrated circuit boards and lacking in bells and whistles? They’re tanks. We collect those, make sure they’re in good working order, and keep them handy for the next person who needs them.

Take, for example, the good, old-fashioned variable autotransformer, often called a Variac in the same way you might refer to any office copier as a Xerox machine. There are easily half a dozen floating around here. Probably more if you take time to look in the dusty corners. The short version is this: you send in ordinary AC line voltage, turn the big, chunky dial, and it sends out a lower AC voltage based on that setting. It has two moving parts: a sliding brush that moves along the wiring coils, and a switch.

Always love a reliable mechanical switch. Click!

An autotransformer has only one winding inside it, and outputs one or more voltages different from its input depending on where they tap into the coils. (A standard transformer has two windings. There are pros and cons to each.) A variable autotransformer has a sliding/rotating connection on the secondary side, enabling smooth voltage change from more or less zero to full. The number of coils the current passes through on its way to the brush’s connection determines the output voltage.

It takes advantage of the constantly-changing nature of alternating current. The flow of current creates a magnetic field; a changing current creates a changing magnetic field. A changing magnetic field creates a current in a circuit. Plugging a variac into the wall receptacle works. Connecting up a DC battery won’t.

They’re handy for testing electrical equipment, including motors whose speed is voltage-dependent. We use them in undergraduate labs in connection with incandescent lamps to study blackbody radiation; they’re a big dimmer switch that’s easy to control and understand. The core of a Mel-Temp apparatus, that workhorse staple of a chemistry lab setup, is just a Variac connected to a big resistor. The varying voltage adjusts the current, which controls the amount of heat it gives off to melt your sample.

Some of the old styles are Art Deco-ish beauties, too, with amazing names. Adjust-A-Volt! Powerstat! Every space-age laboratory deserves a few of these.

Micro Bits

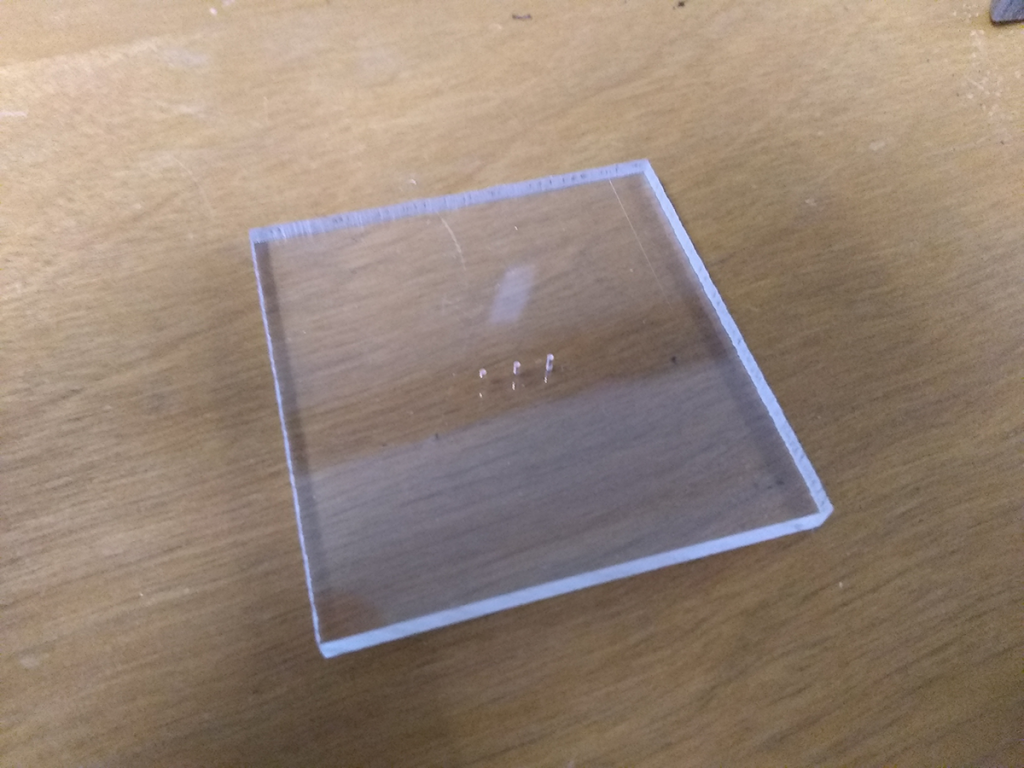
Acrylic with very tiny holes
Very tiny holes

In the Physics & Astronomy shop, we make, modify, and repair things. When the thing you need just isn’t available off the shelf, it’s our job to make it happen. If at all possible.

(It’s not always possible, but we give it our best. Sometimes we surprise ourselves.)

The end result is a lot of unique, one-off objects built to do very, very specific things. They may be lab or research equipment to our colleagues, but they’re learning experiences for us. You never really know what sort of experience and expertise is going to come in handy down the road. And, yes, we make mistakes along the way.

Our desktop CNC mill makes this process just a little bit easier. We get the sort of repeatability and precision alignment in a fraction of the time it takes on a manual machine, and it can turn out tiny work that our eyes struggle to see without magnification. Recent software updates have given it proper drilling capabilities, letting us use an assortment of very small drill bits to expand the sorts of work we can accomplish. Does a project call for precisely-drilled holes on a very small scale? We can do that.

See above for 0.5mm drilling. Now an option!

Until the bit snaps. Occupational hazard.

Hot Glue

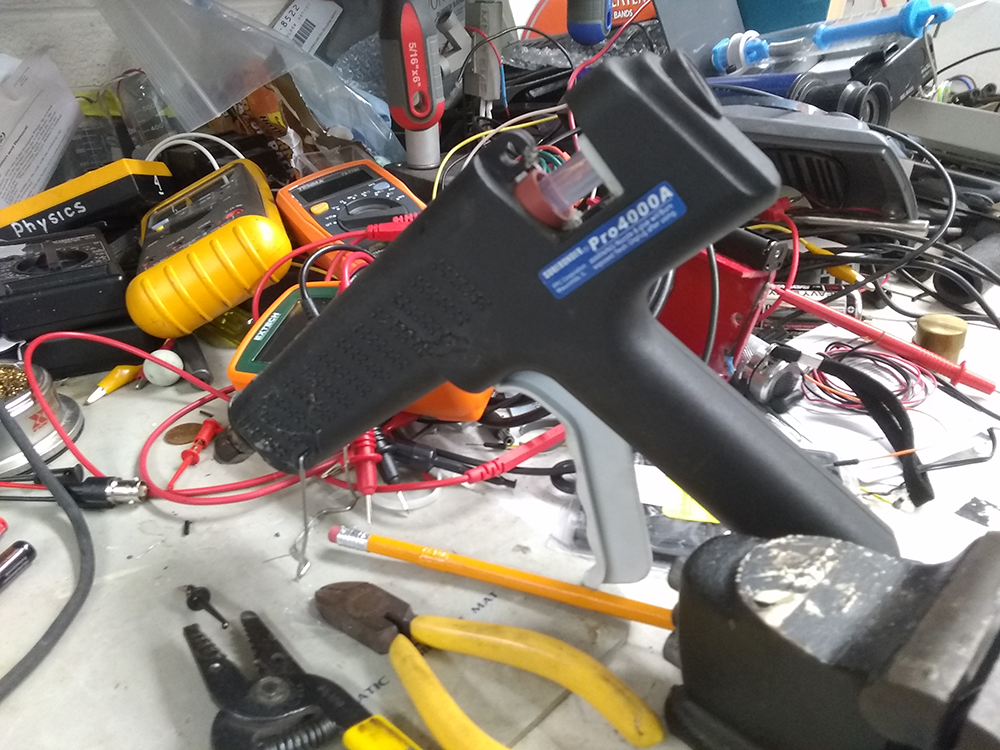
Hot glue gun
The hot glue gun

Our inaugural object is a well-loved, frequently-used tool here in the shop: the hot glue gun. Sometimes the most useful tools are ordinary and un-fancy. See also: screwdrivers, needle-nose pliers, masking tape.

Hot-melt glue is amazing stuff. Its ability to melt and ooze into the surface texture of a wide variety of materials means it can effectively bond adhesive-resistant stuff, such as polyethylene. Plastics, metals, wood, paper: no problem. You do need to be aware of how quickly it cools down; aluminum’s thermal conductivity can re-solidify the glue faster than you can squeeze your pieces together if you aren’t quick.

It’s also free of solvents, requires no mixing or curing or complicated steps, and is as easy to use as you remember from junior high. What more could you ask for?